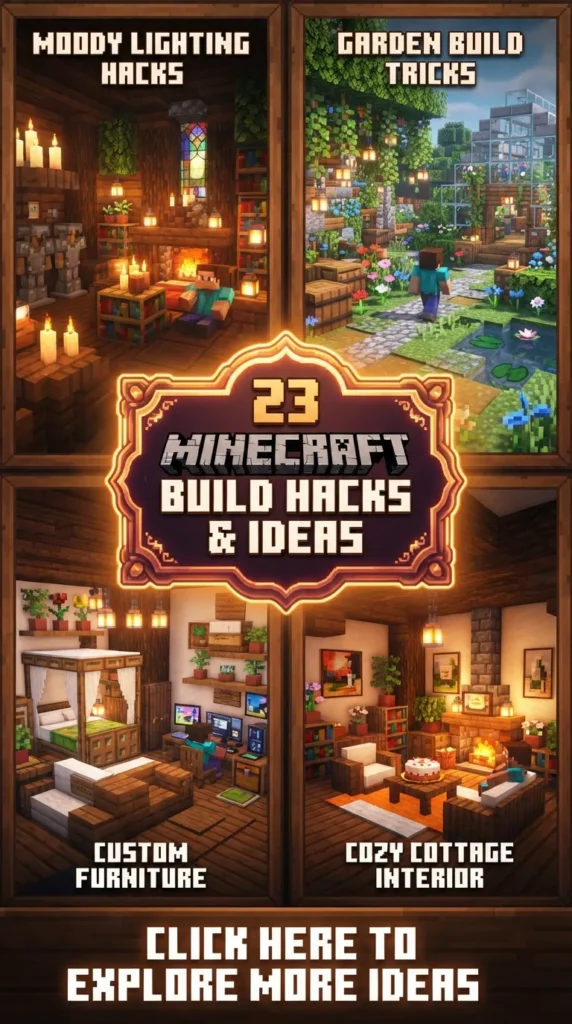
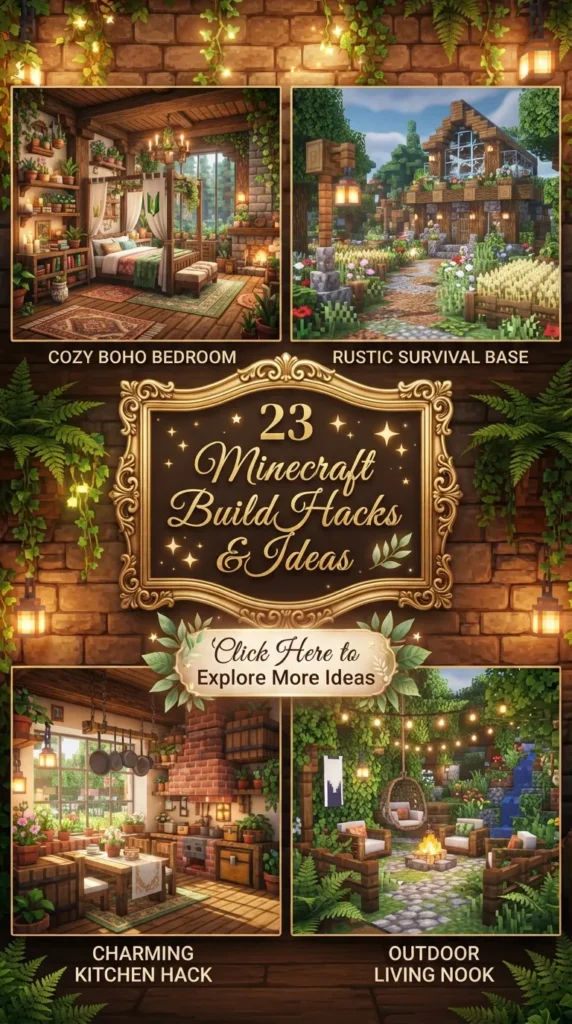
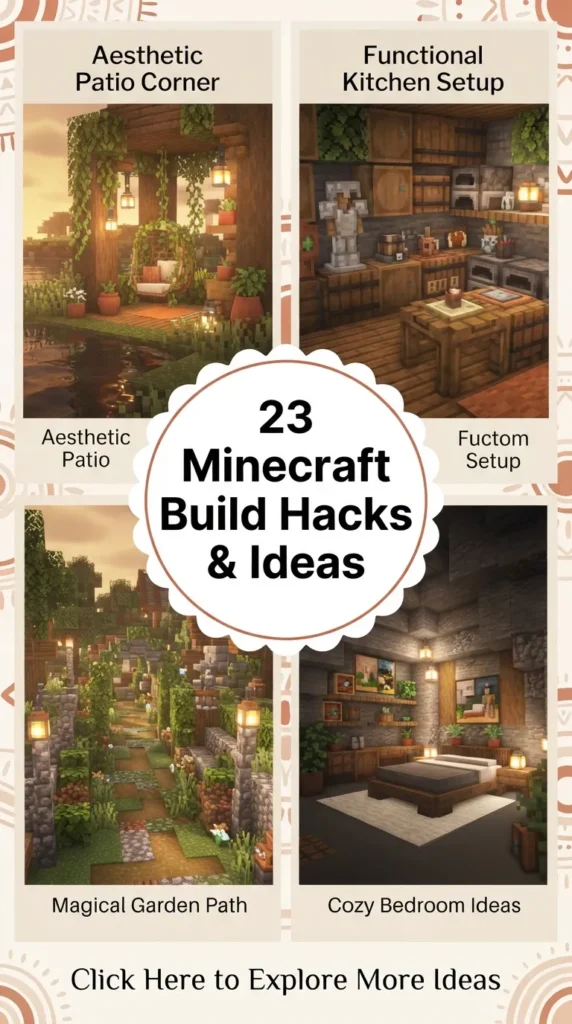
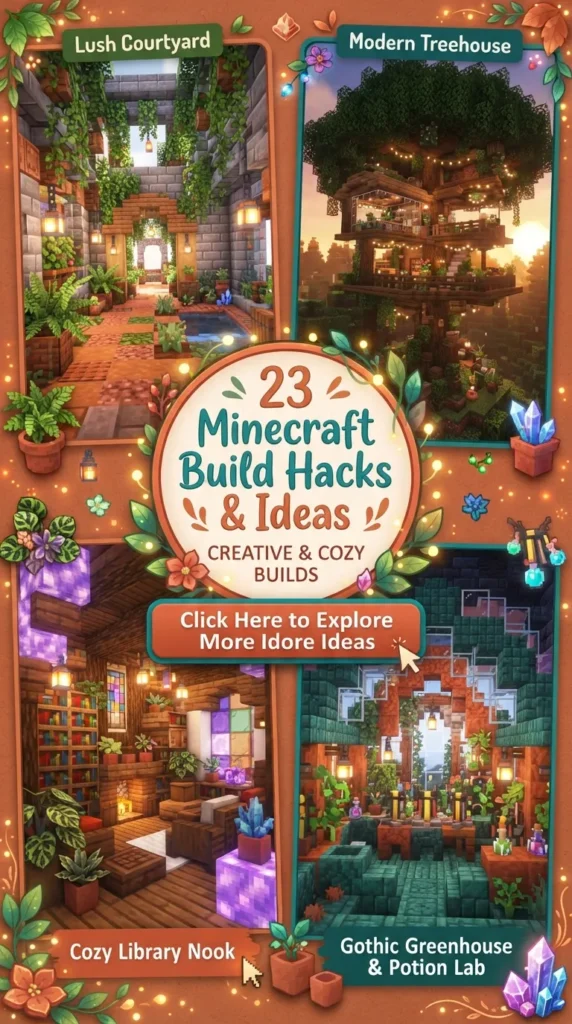
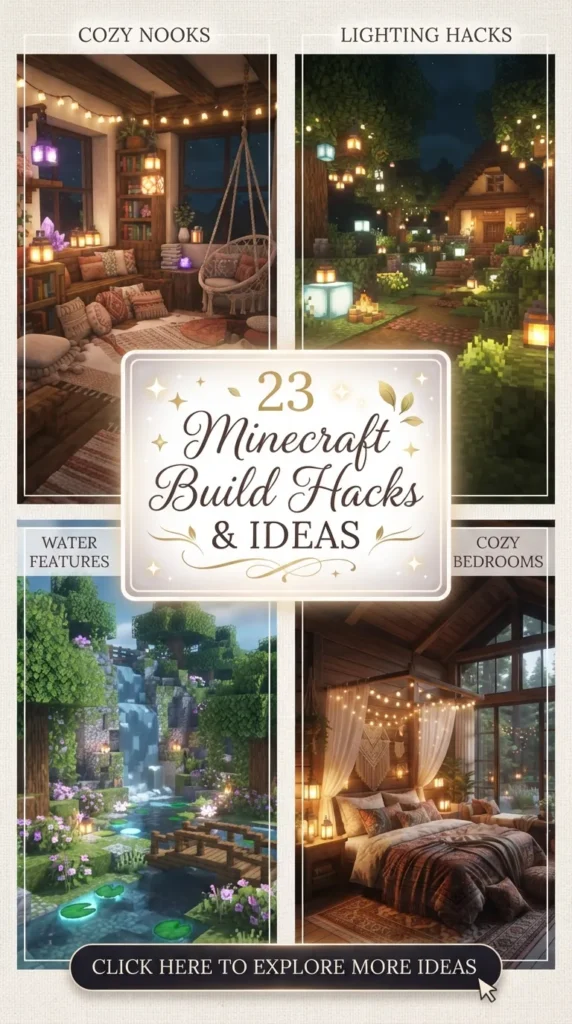
Transforming a simple blocky canvas into a breathtaking, aesthetic world is the ultimate dream of every Minecraft builder. Whether you are crafting a cozy survival sanctuary, a medieval mega-city, or a sleek modern mansion, the magic often lies in the details. Small structural tricks, creative block combinations, and clever micro-builds can turn an ordinary room into an extraordinary space.
In this ultimate builder’s manual, we are diving deep into 20 mind-blowing Minecraft build hacks and ideas. Each design is broken down with step-by-step construction guides, material requirements, creative tips, and design variations so you can bring realistic, Pinterest-worthy charm directly into your game.


1. Custom Armor Stand Coat Rack & Entryway Bench
Introduction
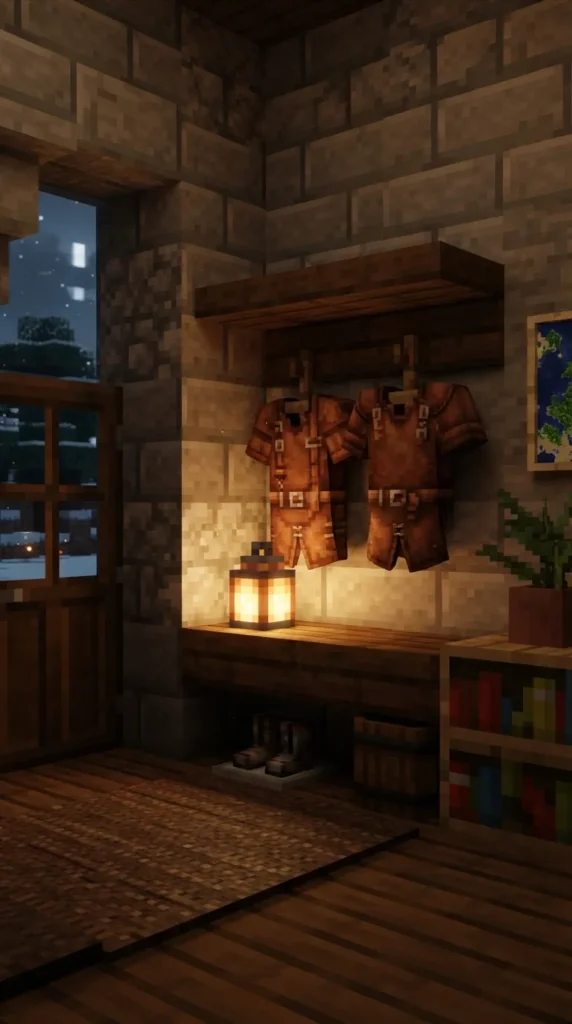
The entrance of any Minecraft home sets the visual tone for the entire interior. A simple, empty hallway can feel lifeless, but adding an entryway coat rack and shoe bench creates an immediate sense of home, function, and realism. This build hack utilizes armor stands and clever lighting tricks to mimic hung coats, boots, and umbrellas.
How to Make It
- Prepare the Recess: Dig a 3-block wide by 2-block high recess into your entryway wall, 1 block deep.
- Floor Layer: Place dark oak slabs or upside-down stairs along the bottom to serve as the bench seating and storage cubby.
- Position the Stands: Place two Armor Stands on the bench. Equip one with a leather tunic (dyed brown or navy) and leather boots, and leave the second one empty or equip it with a chainmail helmet.
- Pose and Align: Use a piston to gently push polished basalt or trapdoors over the base of the stands so only the armor torso and boots remain visible.
- Add Overhead Detail: Place spruce trapdoors at the top as shelves, and hang a lantern from the underside of the top block.
Tips and Variations
- Material Needs: Armor Stands, Leather Armor (dyed), Spruce Slabs, Spruce Trapdoors, Pistons, Redstone Blocks, Lantern.
- Variations: Dye the leather armor red or emerald green for a rustic winter cabin vibe, or swap leather for iron armor in a castle armory setting.
2. Sunken Living Room & Conversation Pit
Introduction
Standard flat flooring in large living rooms often feels open and empty. A sunken living room—also known as a conversation pit—breaks up monochrome floor textures, creates depth, and adds a luxurious modern architectural feature to your home.
How to Make It
- Excavate the Pit: Choose a central $5 \times 5$ square area in your main living room floor and dig down 2 blocks deep.
- Line the Walls: Replace the dirt or stone edges with smooth quartz stairs or dark oak stairs facing inward to form comfortable wrap-around seating.
- Central Coffee Table: Place a $2 \times 2$ arrangement of wool, carpet, or upside-down stairs in the center to serve as a low-profile coffee table.
- Add Accents: Place a sea pickle or flower pot with a fern on the coffee table. Frame the pit with colorful wool carpets or moss carpets around the top perimeter to outline the step-down area.
Tips and Variations
- Material Needs: Stairs (Quartz, Dark Oak, or Mangrove), Wool or Carpet, Sea Pickles/Flower Pots, Glowstone (for under-carpet lighting).
- Variations: Hide glowstone or sea lanterns underneath carpet inside the pit to create a soft, glowing ambient floor without visible torches.
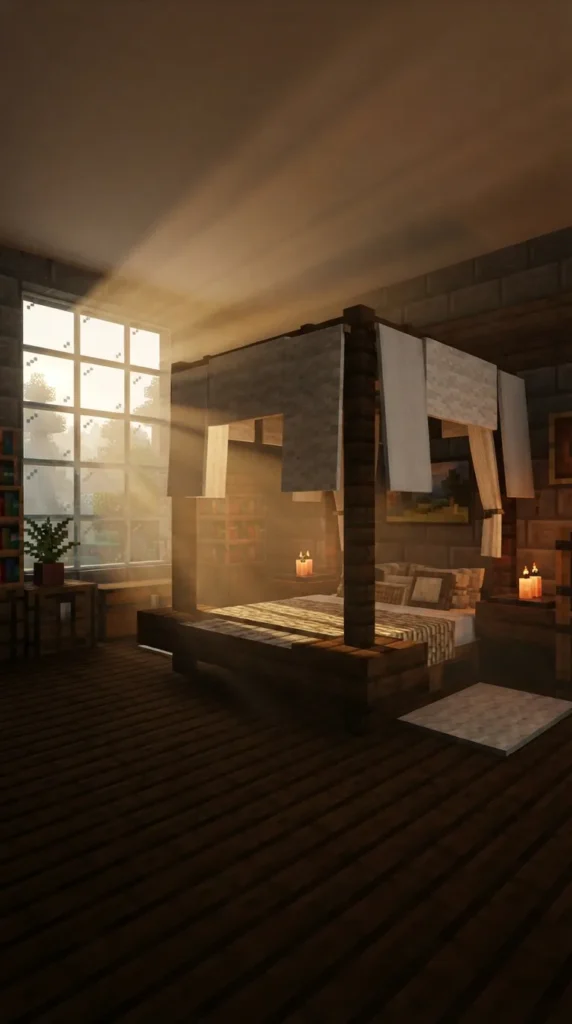
3. Realistic Canopy Bed with Banners and Fences
Introduction
The standard Minecraft bed looks plain sitting alone in a bedroom. Building a majestic grand canopy bed instantly elevates your master suite, turning a functional spawn point into a regal focal piece.
How to Make It
- Set the Bed Base: Place two red or white beds side-by-side in the center of the wall. Surround the back and sides with dark oak wood logs or stairs for a framed look.
- Raise the Pillars: Place dark oak fence posts 4 blocks high at all four corners of the bed framing.
- Build the Frame: Connect the tops of the fence posts using spruce slabs or trapdoors to form an overhead wooden canopy structure.
- Drape the Curtains: Attach white or light gray banners to the sides of the top slabs so they hang down like realistic cloth drapes.
Tips and Variations
- Material Needs: 2 Beds, 16 Dark Oak Fences, 12 Spruce Slabs/Trapdoors, 8–12 Banners.
- Variations: Use custom gradient banners (e.g., sunset hues or royal purple) and add campfire smoke particle effects above the canopy frame using hidden campfires for a fantasy mystical effect.
4. Grand Stone Brick Fireplace with Working Smoke
Introduction
A fireplace provides warmth, structure, and a cozy gathering point for any main hall or rustic cabin. By combining netherrack or campfires with chimney shafts, you can achieve continuous, atmospheric smoke billowing through your roof.
How to Make It
- Construct the Hearth: Build a $3 \times 2$ stone brick base against your wall. Hollow out a $2 \times 1$ central opening for the fire chamber.
- Set the Fire Engine: Dig 1 block deep into the hearth floor, place a Hay Bale, and put a Campfire directly on top. The hay bale doubles the smoke height!
- Build the Chimney: Surround the fire with iron bars in front to prevent accidental burns. Extend a hollow $2 \times 2$ stone brick chimney shaft straight up through the ceiling and roof.
- Roof Accent: At the top of the chimney on your roof, place another campfire topped with spruce trapdoors to create continuous, realistic chimney smoke outside.
Tips and Variations
- Material Needs: Stone Bricks, Stone Brick Stairs, Campfires, Hay Bales, Iron Bars, Spruce Trapdoors.
- Variations: For a modern look, swap stone bricks for smooth quartz, blackstone, and gray tinted glass.
5. Floating Wall-Mounted Hanging Plants
Introduction
Indoor greenery adds natural life and vibrant colors to stone and wood interior walls. Hanging plant pots make empty walls look thoughtfully designed without consuming floor space.
How to Make It
- Anchor Bracket: Place a wooden wall button, then attach a fence post or an iron chain extending out from the wall.
- Hanging Pot Base: Attach a wooden trapdoor (spruce or jungle) to the bottom of the chain or fence post and flip it up, or hang a flower pot directly beneath a chain.
- Foliage Layer: Place an Azalea block, Flowering Azalea, or Oak Leaves beneath or inside the pot structure.
- Add Vines: Place Weeping Vines or Twisting Vines underneath the leaf block to simulate draping foliage growing downward.
Tips and Variations
- Material Needs: Chains, Flower Pots, Azalea/Leaf Blocks, Vines, Trapdoors.
- Variations: Use Sea Pickles placed on green moss blocks for small mini-succulents, or use spore blossoms attached to the ceiling for floating pink particle clouds.

6. Functional Kitchen Island & Smoker Oven Setup
Introduction
Kitchens are a fan-favorite room to design in Minecraft. A detailed, functional kitchen island featuring customized appliances turns decorative food storage into a full culinary workshop.
How to Make It
- Construct the Island Base: Build a $3 \times 2$ island using polished granite, quartz, or stripped wood blocks.
- Integrate Appliances: Swap two center blocks with Smokers or Furnaces. Place Heavy Weighted Pressure Plates (iron) on top of the smokers to act as realistic stove burners.
- Add Countertop Details: Place a Tripwire Hook on the wall behind the island to serve as a sink faucet, with a Water-filled Cauldron underneath.
- Overhead Storage: Place upside-down stairs or barrel blocks above the island attached to the ceiling to represent hanging kitchen cabinets.
Tips and Variations
- Material Needs: Smokers, Cauldrons, Water Bucket, Tripwire Hook, Heavy Pressure Plates, Barrels, Slabs.
- Variations: Place Item Frames on the side of barrels with bread or cooked chicken inside to display stored ingredients.
7. Integrated Wall Aquarium with Live Coral
Introduction
A vibrant wall-integrated aquarium creates an interactive, colorful feature wall that lights up subterranean rooms, underwater bases, or modern estates.
How to Make It
- Excavate Frame: Cut out a $4 \times 2$ section in a central interior wall, 2 blocks deep.
- Seal and Light: Line the back wall with Sea Lanterns or Ochre Froglights.
- Fill with Life: Fill the interior space with Water Source blocks, place Sand or Soul Sand at the bottom, and plant Tube Coral, Brain Coral, and Sea Pickles.
- Enclose with Glass: Seal the front flush with the room wall using Blue Tinted Glass panes or regular Glass. Add tropical fish using a water bucket.
Tips and Variations
- Material Needs: Glass Panes, Water Buckets, Coral Blocks, Sea Pickles, Sea Lanterns, Tropical Fish.
- Variations: Place Soul Sand at the bottom to generate continuous rising bubble columns for dynamic underwater animation.
8. Grand Piano using Loom and Dragon Head Keys
Introduction
Adding musical instruments gives an air of luxury and culture to high-end builds. Building a detailed grand piano using head items and looms creates an astonishing illusion of real black and white keys.
How to Make It
- Key Bed Prep: Dig a 2-block slot in the floor where the piano keys will sit.
- Position Loom / Dragon Heads: Place two Looms facing sideways or backward armor stands wearing Dragon Heads/Custom Skulls facing down so the top/back teeth texture resembles piano keys.
- Build the Body: Enclose the keys with Dark Prismarine or Black Concrete slabs, stairs, and blocks formed into a curved piano shape.
- Piano Cover & Stool: Prop up a black carpet or slab overhead using an End Rod as the piano lid prop. Place a dark oak stair behind the keys as the piano bench.
Tips and Variations
- Material Needs: Looms or Armor Stands, Black Concrete/Prismarine Slabs, End Rod, Dark Oak Stair.
- Variations: Place a Music Box (Jukebox) inside the body so the piano can actually play music discs when right-clicked!
9. Medieval Iron Chain Candle Chandelier
Introduction
High ceilings in medieval halls and castle keep rooms often look empty and dim. A custom iron chain candle chandelier fills vertical airspace while throwing warm, atmospheric light across exposed timber beams.
How to Make It
- Drop Line: Attach an Iron Chain to a central ceiling beam, extending down 2 to 3 blocks.
- Cross Frame: At the base of the chain, attach four Dark Oak Fence Gates pointing outward in four cardinal directions and open them.
- Position Candles: Place Candles (dyed orange, brown, or white) on top of each fence gate or connecting block.
- Ignite: Light the candles using a Flint and Steel. Place 3 to 4 candles on each block for maximum wax accumulation detail.
Tips and Variations
- Material Needs: Chains, Fence Gates, Candles, Flint and Steel.
- Variations: Replace candles with Soul Candles or Lanterns for an eerie, magical blue-lit dungeon vibe.
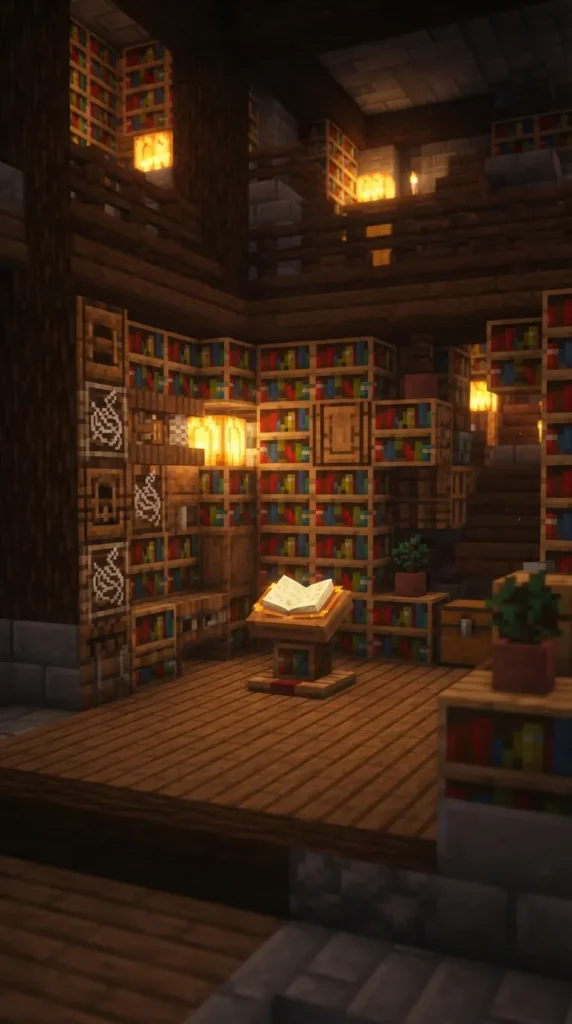
10. Wall-Mounted Modular Bookshelves with Lecterns
Introduction
Standard bookshelf blocks placed side-by-side can look flat and repetitive. By mixing lecterns, loom blocks (which look like empty shelves), slabs, and trapdoors, you can craft modular, realistic library shelving.
How to Make It
- Create the Shelf Grid: Alternate standard Bookshelves with Loom blocks (facing sideways so the empty shelf side shows).
- Add Depth: Place Spruce Slabs beneath certain shelving blocks to act as exposed wooden brackets.
- Integrate Reading Desks: Place a Lectern in the center of the shelving unit with a written book open on top.
- Enclose Edges: Attach Spruce or Dark Oak Trapdoors flush against the outer edges of the shelf system to create custom trim framing.
Tips and Variations
- Material Needs: Bookshelves, Looms, Lecterns, Spruce Trapdoors, Spruce Slabs.
- Variations: Place an Item Frame on a shelf block with a single book rotated 45 degrees to look like a leaning book.


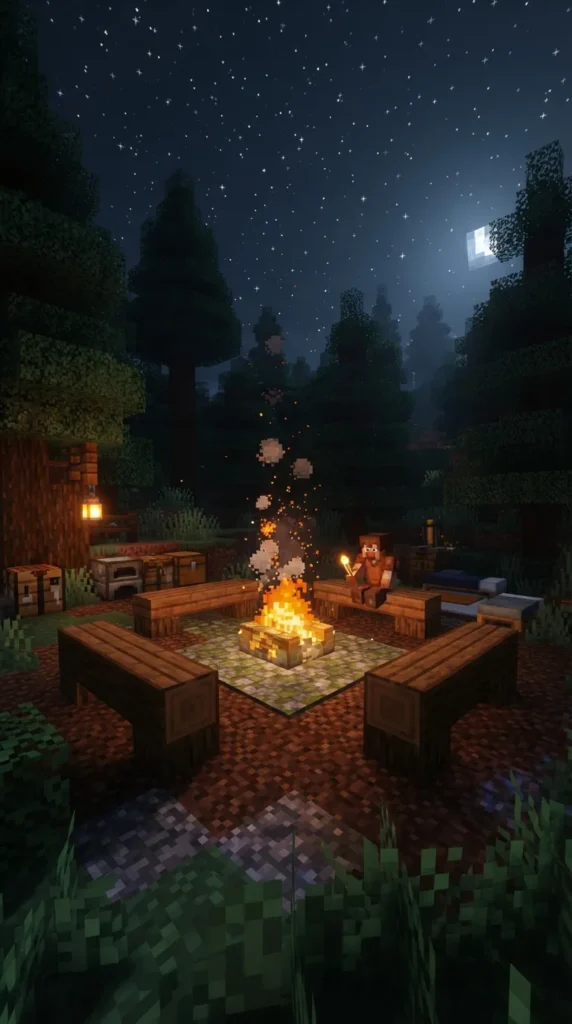
11. Cozy Outdoor Firepit & Log Bench Seating
Introduction
Outdoor campsites and backyard garden patios need a cozy focal point. A campfire surrounded by split logs and pebble paths provides the ultimate survival retreat atmosphere.
How to Make It
- Dig the Pit: Dig a $1 \times 1$ hole in the ground, 1 block deep. Place a Soul Campfire or regular Campfire inside.
- Ring the Edge: Enclose the rim of the fire pit using Mossy Cobblestone Slabs or Polished Blackstone Slabs.
- Craft Log Benches: Place Stripped Spruce Logs laying horizontally 2 blocks back from the fire on three sides.
- Add Backrests & Armrests: Attach Spruce Trapdoors to the back and ends of the log benches and fold them up to form rustic chair backs.
Tips and Variations
- Material Needs: Campfire, Slabs, Stripped Logs, Trapdoors, Gravel/Pebbles.
- Variations: Scatter Coarse Dirt, Gravel, and Buttons around the ground to create realistic fire pit ash and scattered pebbles.
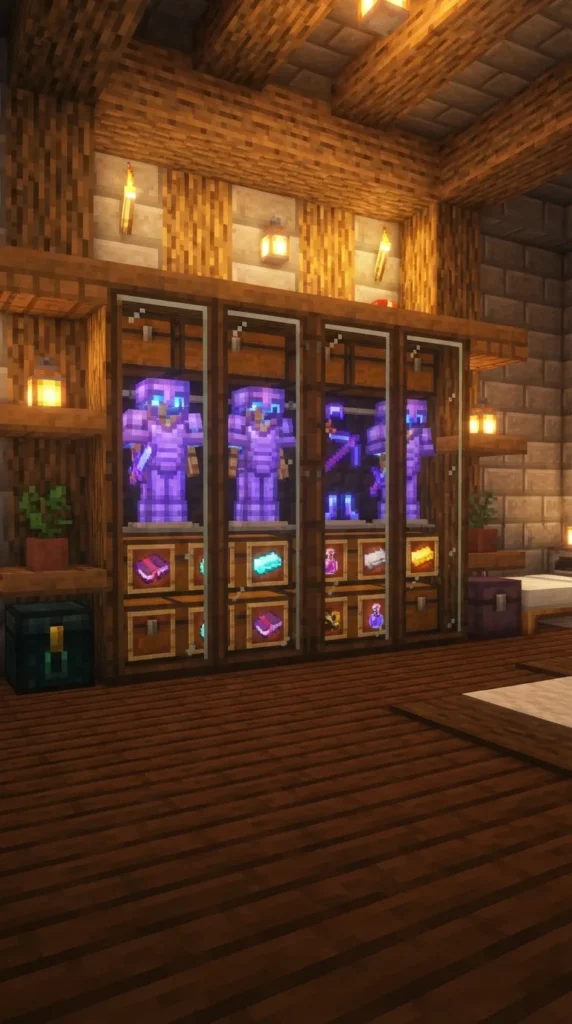
12. Custom Wardrobe Closet with Armor Stand Displays
Introduction
Every grand bedroom needs functional clothing storage. A built-in wardrobe with glass doors and sliding armor stand compartments turns storage into a high-end dressing room feature.
How to Make It
- Frame the Closet: Build a 4-block wide, 3-block high frame using Stripped Oak Wood and Slabs into your bedroom wall.
- Set the Displays: Place two Armor Stands inside, fully outfitted with your favorite armor sets (e.g., Netherite and Enchanted Diamond).
- Install Glass Enclosure: Place Tinted Glass or Glass Panes in front of the stands.
- Add Side Cubbies: Place Chests or Trapped Chests underneath decorative trapdoor shelves on the sides for actual item storage.
Tips and Variations
- Material Needs: Stripped Oak, Armor Stands, Full Armor Sets, Glass/Tinted Glass, Chests.
- Variations: Use Redstone Pistons underneath to swap armor stands in and out of sight with the press of a button!
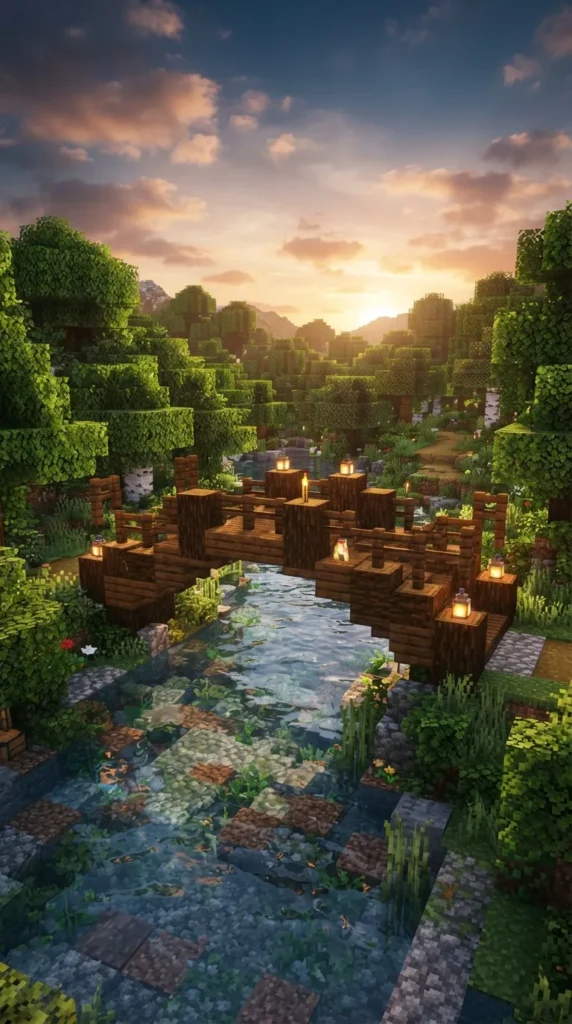
13. Rustic Timber Bridge Design over Streams
Introduction
Crossing rivers and small ravines with simple flat dirt paths breaks immersion. A naturally arched rustic bridge built with logs, slabs, and campfires adds instant charm to any landscape.
How to Make It
- Build the Supports: Place Riverstone or Mossy Cobblestone pillars on both banks of the stream.
- Lay the Arch Pathway: Unlit Campfires make the absolute best wooden log bridge decking! Place Campfires across the span and extinguish them using a Water Bucket or Splash Water Bottle.
- Bridge Guardrails: Run Spruce Fence Posts along the outer edges of the bridge.
- Add Lanterns: Hang Lanterns from the underside of the central arch over the water for warm reflections at night.
Tips and Variations
- Material Needs: Campfires (extinguished), Water Bucket, Spruce Fences, Mossy Cobblestone, Lanterns.
- Variations: Mix in Spruce Slabs and Trapdoors on the bridge ends to smooth out the gradient arch.
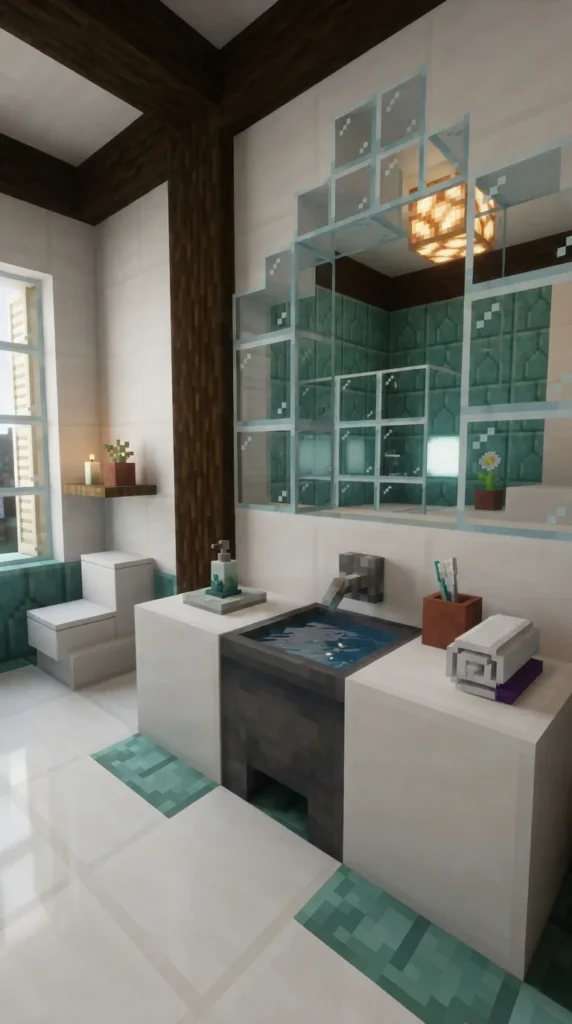
14. Functional Bathroom Vanity & Mirror Illusion
Introduction
Bathrooms can be tricky in Minecraft due to the block scale. Creating a glass depth illusion mirror with a sink vanity makes small bathroom builds feel double their size!
How to Make It
- The Wall Divider: Build a bathroom wall using Glass Blocks in the center, framing it with Quartz.
- Build Symmetrical Rooms: Recreate the exact same vanity build on BOTH sides of the glass wall (a mirror image)!
- Build the Vanity: Place a Tripwire Hook on the glass wall above a Water-filled Cauldron containing light blue dye water.
- Add Details: Place a Banner dyed with a gradient or white line pattern to represent a hanging hand towel next to the sink.
Tips and Variations
- Material Needs: Glass Blocks, Quartz Blocks, Cauldrons, Water, Tripwire Hooks, Banners.
- Variations: Place a Sea Pickle on a white carpet to serve as a toothbrush holder cup.
15. Detailed Medieval Windmill with Wool Sails
Introduction
A wheat farm looks tenfold more atmospheric when anchored by a tall, spinning medieval windmill. It brings verticality and historical realism to agricultural zones.
How to Make It
- Build the Base Tower: Construct a tapered circular tower using Mud Bricks and Granite, starting at $5 \times 5$ diameter at the bottom and narrowing to $3 \times 3$ at the top (12–15 blocks tall).
- Craft the Axle: Place a horizontal Log or Dark Oak Hub extending out from the top center of the windmill.
- Build the Sail Framework: Attach Oak Fences to the hub in four large diagonal blades extending outward 5–6 blocks each.
- Attach White Wool Sails: Cover one side of each fence arm with White Wool and Birch Slabs in an angled, wind-swept pattern.
Tips and Variations
- Material Needs: Mud Bricks, Granite, Logs, Fences, White Wool, Birch Slabs.
- Variations: Add an interior grain grinding wheel using Hay Bales, Grindstones, and a central shaft down to the bottom room.



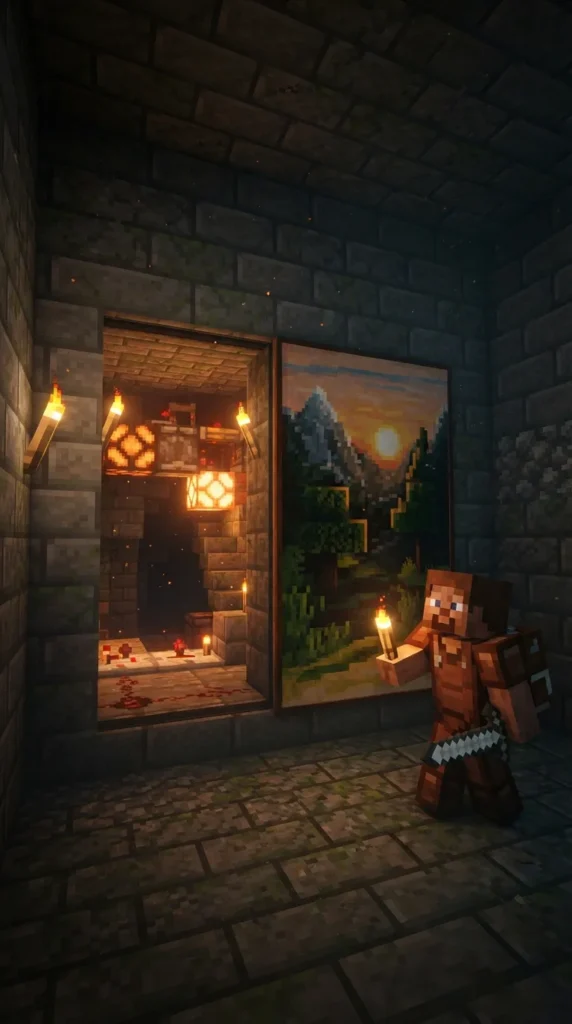
16. Secret Piston Door behind a Painting
Introduction
Nothing says hidden base like a classic secret entrance hidden behind artwork. Using redstone pressure plates or secret levers, you can make a wall seamlessly slide open.
How to Make It
- Doorway Prep: Cut a $2 \times 1$ walking doorway through a wall.
- Install Sticky Pistons: Place 2 Sticky Pistons behind the wall adjacent to the doorway facing the wall blocks.
- Place the Painting: Attach Open Signs inside the doorway passageway, then place a large $2 \times 2$ Painting on the wall covering the opening. The signs allow you to walk straight through the painting!
- Redstone Trigger: Connect a hidden lever or weighted pressure plate to retract the piston blocks when activated.
Tips and Variations
- Material Needs: Sticky Pistons, Redstone Dust, Lever/Pressure Plate, Signs, Painting.
- Variations: Use a Lectern with a book turn as the secret redstone switch mechanism for an ultimate mystery library doorway!
17. Botanical Greenhouse & Glass Conservatory
Introduction
A glass dome or conservatory allows you to grow tropical flora, crops, and trees inside an ornate, weather-proof glass structure that serves as a stunning garden centerpiece.
How to Make It
- Foundation Rim: Lay a $9 \times 9$ octagonal ring using Deepslate Tile Stairs and Polished Deepslate.
- Glass Dome Framework: Build an arched roof framework using Dark Oak Wood beams filled entirely with Clear Tinted Glass or White Stained Glass.
- Interior Garden Layout: Create winding dirt paths inside using Coarse Dirt, Moss Blocks, and Mud.
- Plant Diversity: Plant Flowering Azalea, Spore Blossoms hanging from the glass roof ceiling, Tall Ferns, and Bamboo around small water ponds.
Tips and Variations
- Material Needs: Deepslate Tiles, Dark Oak Wood, Tinted Glass, Moss Blocks, Spore Blossoms, Ferns.
- Variations: Add Beehives and flowers inside to create a bustling, automated honey greenhouse sanctuary!
18. Modern Gaming Setup & Computer Desk
Introduction
For modern mansion interiors or room builds, a realistic gaming setup with multi-monitor displays, a keyboard, and a sleek desk brings contemporary tech culture into your blocky home.
How to Make It
- Build the Desk: Place three Smooth Quartz Slabs or Iron Trapdoors extended horizontally across a wall.
- Keyboard Illusion: Place a Chainmail Helmet on an Armor Stand dropped into the floor beneath the desk block so only the top woven metal lattice sticks up through the slab (looks just like a mechanical keyboard!).
- Monitor Displays: Place Black Banners on the wall behind the desk or use Wither Skeleton Skulls tilted as speakers.
- Computer Tower & Mouse: Place a Black Concrete block on the floor next to the desk with a Stone Button on top to represent a PC tower and mouse.
Tips and Variations
- Material Needs: Quartz Slabs, Armor Stand, Chainmail Helmet, Black Banners, Stone Button, Black Concrete.
- Variations: Use custom maps placed in Item Frames as active glowing colorful desktop monitor wallpapers!
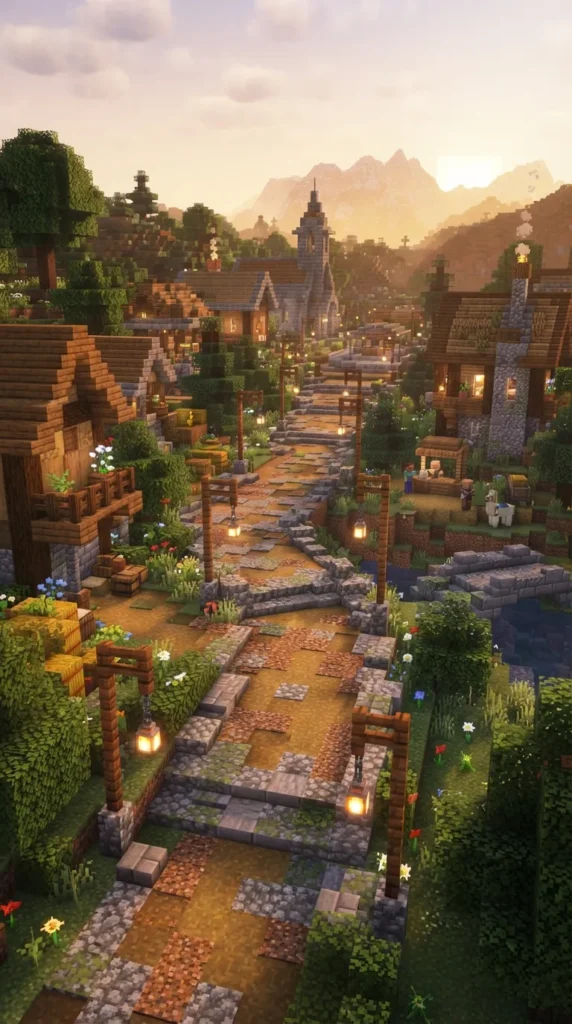
19. Cobblestone Village Pathway with Custom Lantern Posts
Introduction
Standard flat dirt paths throughout a village feel uninspired. Crafting textured cobblestone roads framed with detailed wooden lantern posts instantly gives your town settlement a high-end fantasy RPG aesthetic.
How to Make It
- Texturized Roadbed: Mix Cobblestone, Mossy Cobblestone, Andesite, Gravel, and Coarse Dirt together in an irregular 3 to 4 block wide winding path.
- Post Base: Every 8–10 blocks along the road, place a Spruce Fence Post topped with a Stripped Log block.
- Lantern Arm: Attach an upside-down Spruce Stair to the side of the log facing over the path, and attach a chain underneath.
- Mount Light: Hang a Soul Lantern or standard Lantern from the chain. Place Moss Carpet or Stone Buttons along the road edges for scattered pebble textures.
Tips and Variations
- Material Needs: Cobblestone, Andesite, Gravel, Spruce Fences, Stripped Logs, Chains, Lanterns.
- Variations: Add small leaf block hedges along the pathway border to make the road feel naturally integrated with the environment.
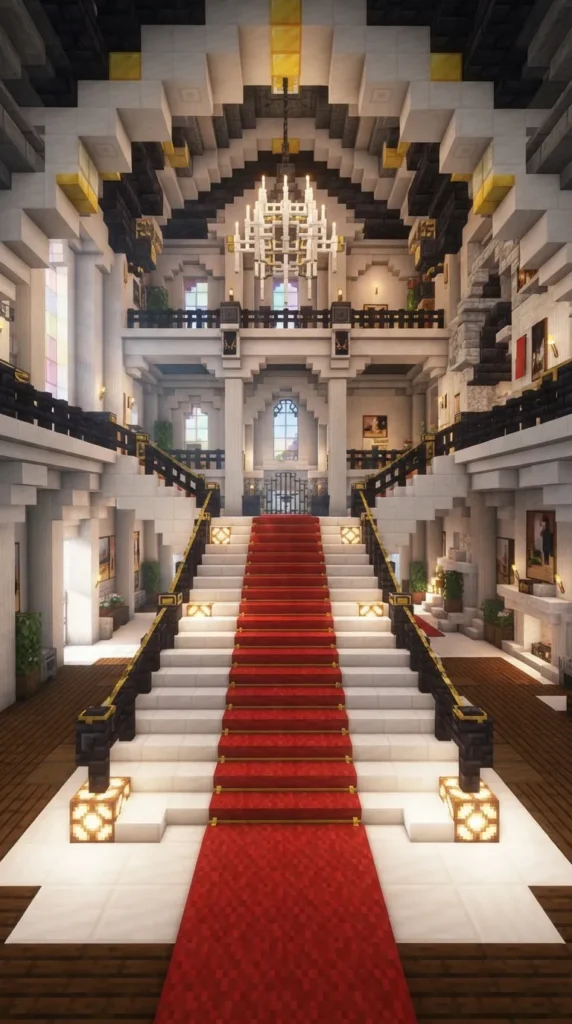
20. Grand Mansion Staircase with Carpet Runner
Introduction
A grand entrance hall demands a regal, sweeping staircase. Adding a custom wool carpet runner down the center of stone stairs transforms a plain climb into a dramatic architectural masterpiece.
How to Make It
- Staircase Structure: Build a 5-block wide staircase curving upward from both sides into a central landing using Smooth Quartz Stairs or Deepslate Tile Stairs.
- Lay Carpet Runner: Place Red Wool or Crimson Carpets down the middle 3-block width of every step.
- Balustrade Railing: Run Nether Brick Fences or Polished Blackstone Fences up the outer edges of the stairs.
- Decorative Vases: Place Flower Pots containing Wither Roses or Orchids on top of decorative pillar posts at the base of the staircase.
Tips and Variations
- Material Needs: Quartz/Deepslate Stairs, Red Carpet, Nether Brick Fences, Flower Pots.
- Variations: Place Glowstone or Sea Lanterns directly beneath the wool carpet on each stair step for invisible step lighting!