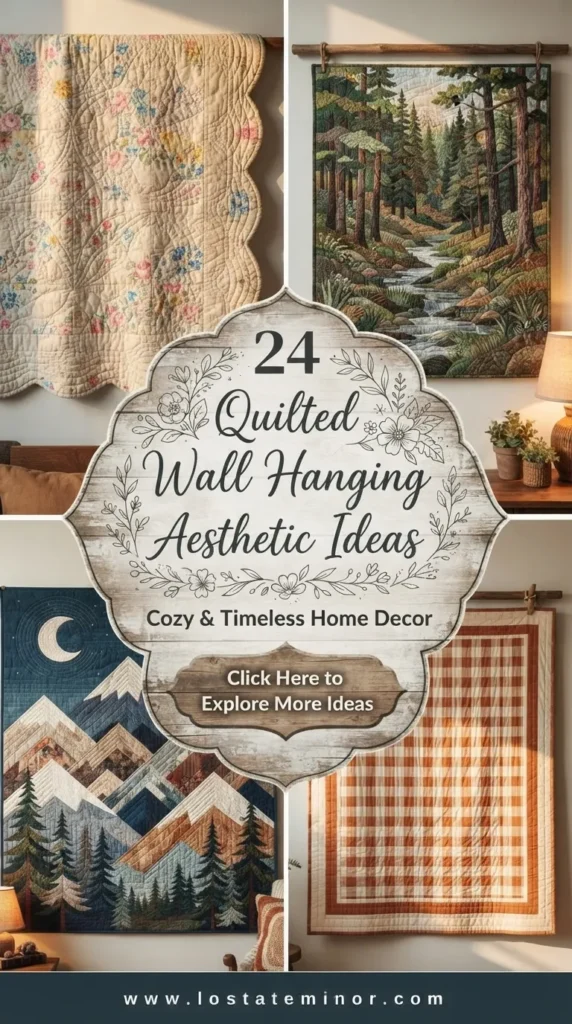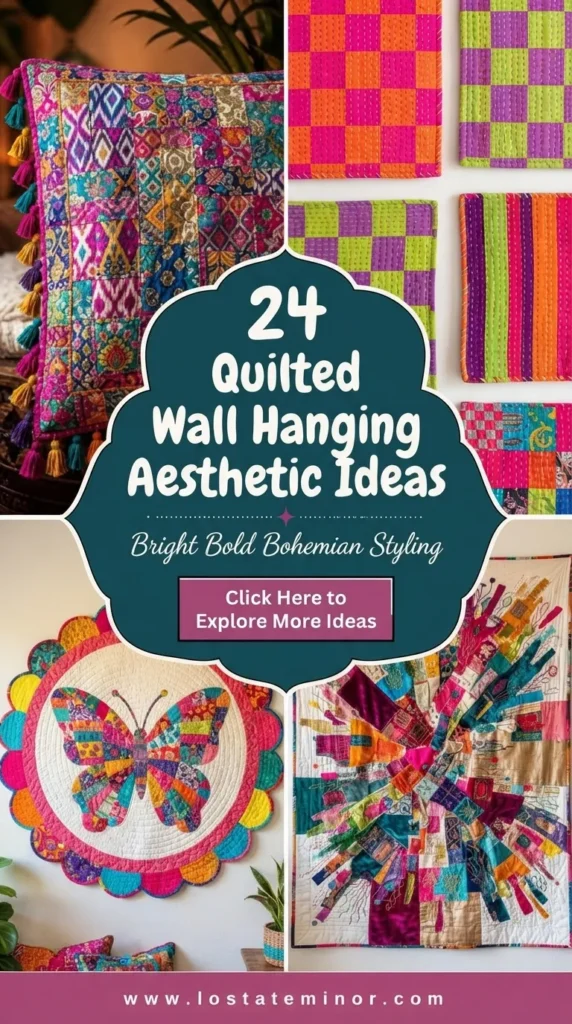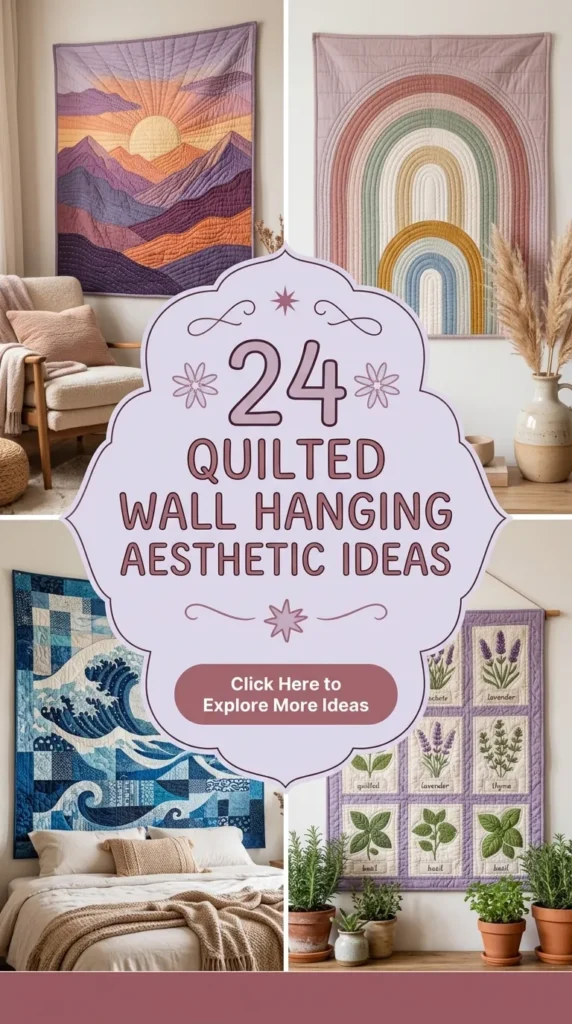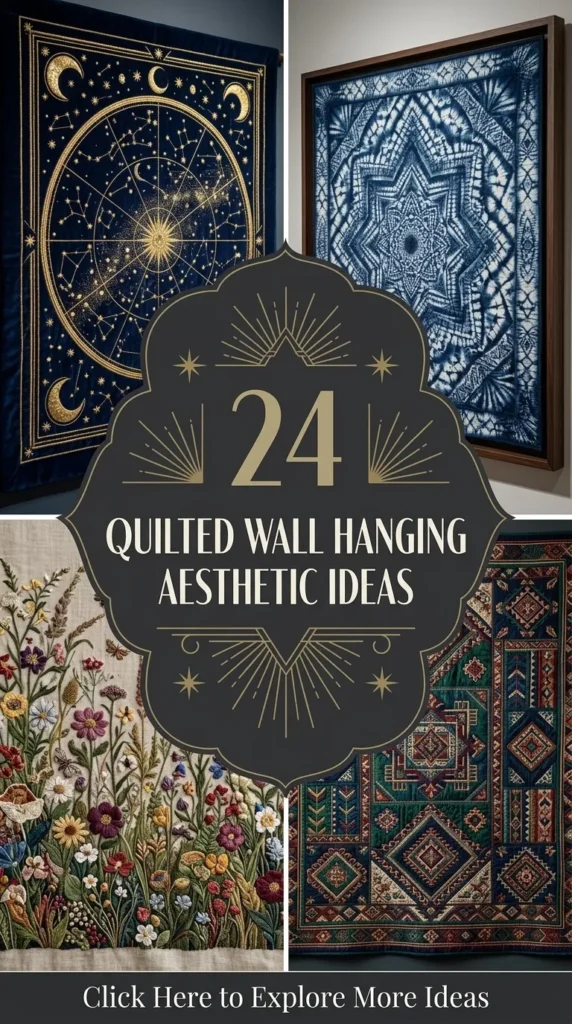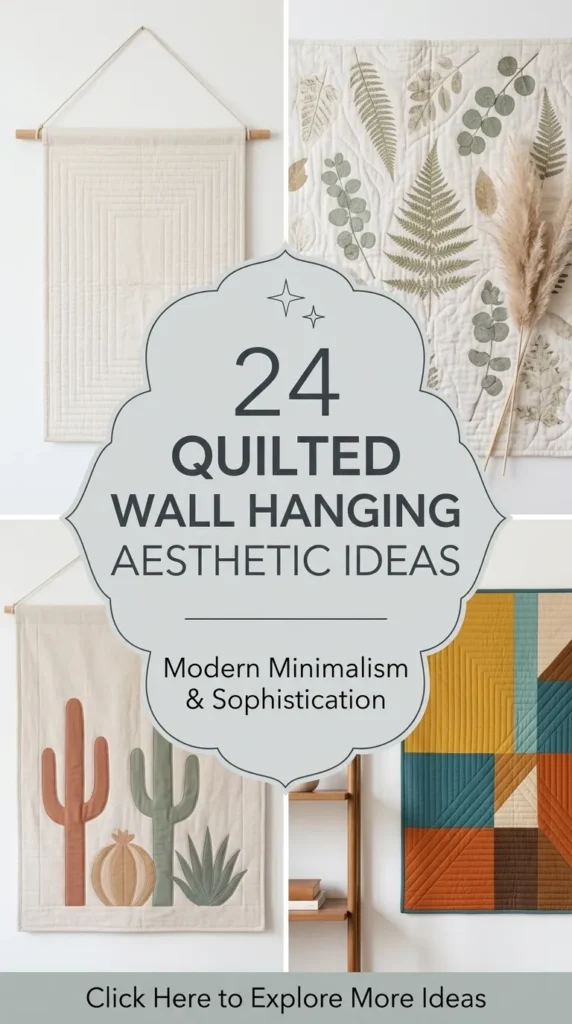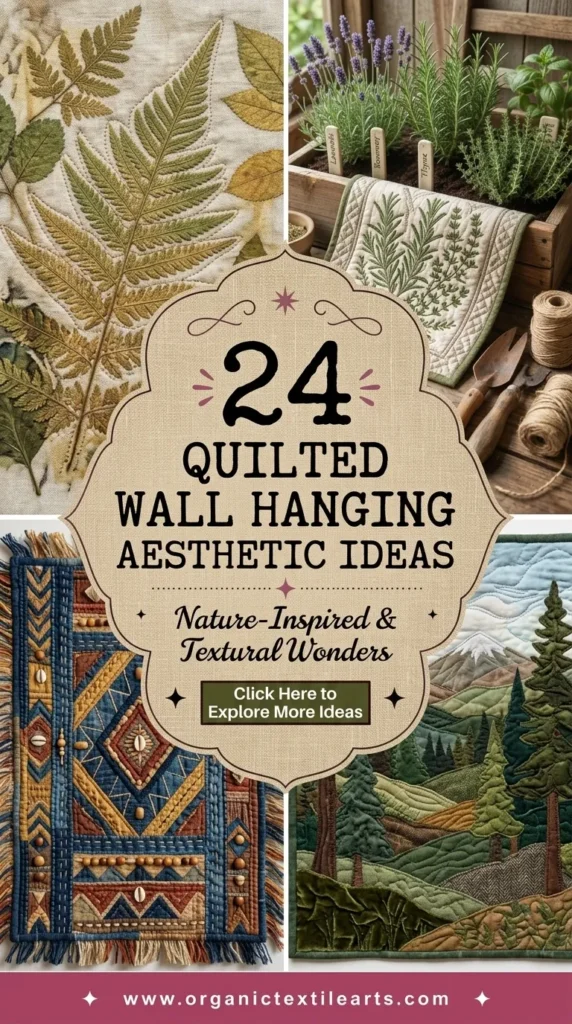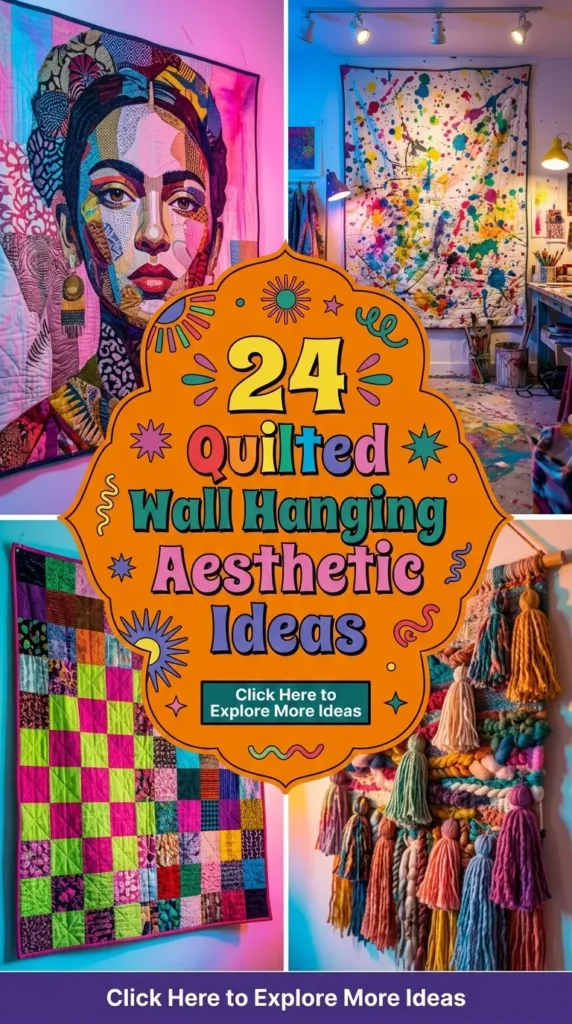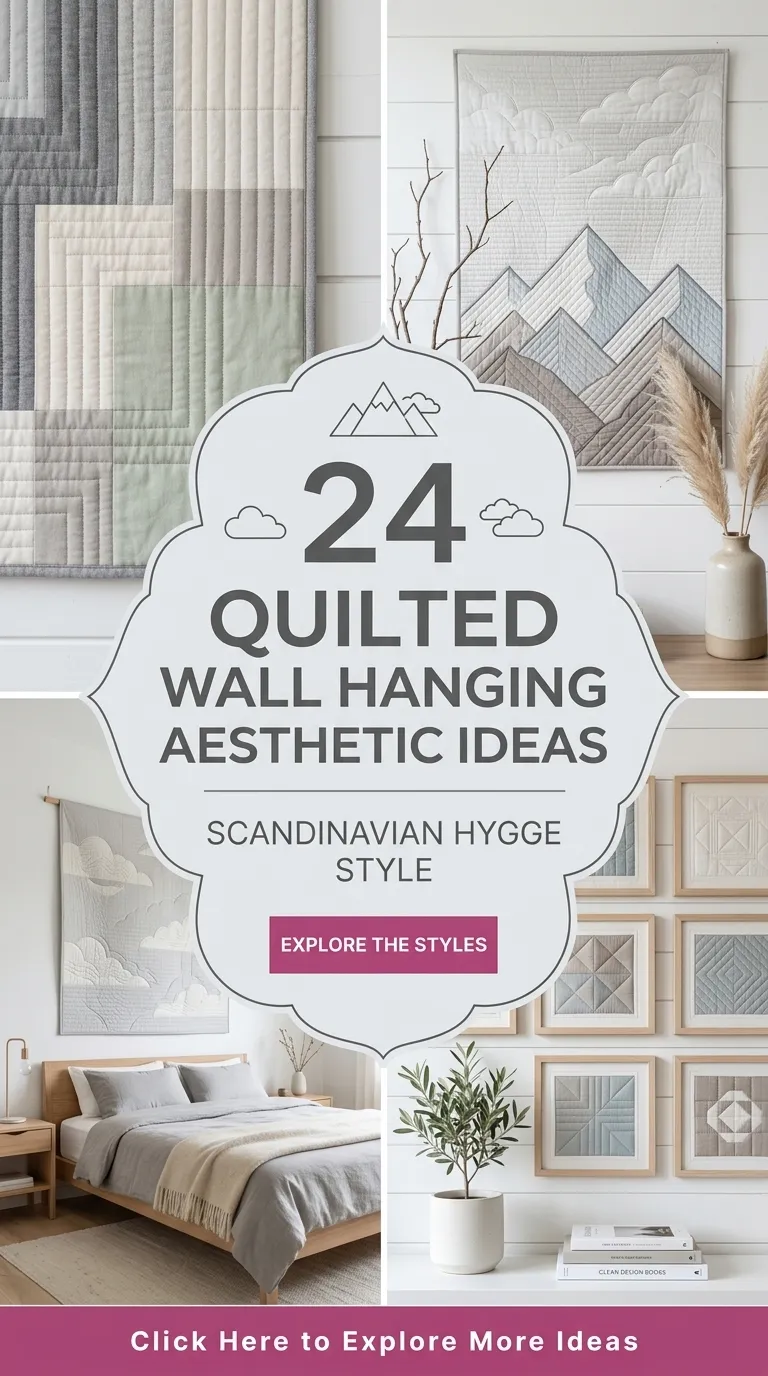
Wall art isn’t limited to framed prints and canvases. Quilted wall hangings bring warmth, tactile texture, rich dimensions, and handmade soul into modern interiors. Whether your home leans minimalist, boho, grandmillennial, or rustic, textile wall hangings serve as acoustic dampeners and captivating visual anchors.
Here are 20 unique, aesthetic quilted wall hanging ideas complete with detailed concept breakdowns, step-by-step crafting guides, tips, and stylistic variations.


1. Minimalist Sunburst Modern Art
Introduction & Concept
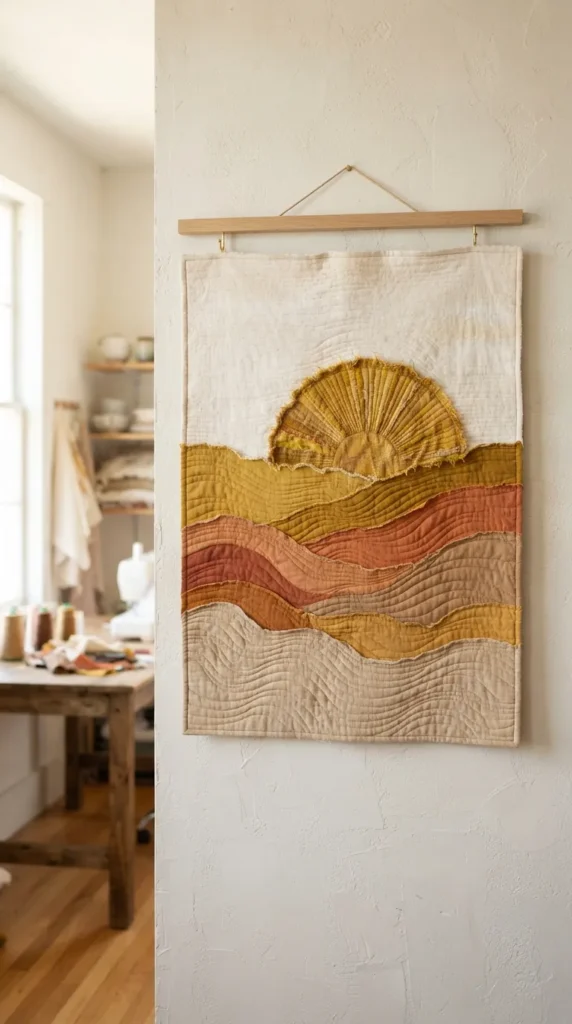
The Minimalist Sunburst design translates a classic motif into modern abstract art. Using clean lines, geometric radiating rays, and a restrained color palette, this aesthetic piece adds warmth without cluttering visual space.
What This Idea Means
This design focuses on balance and negative space. Instead of intricate traditional patchwork, it utilizes oversized curved or straight pieced geometric shapes representing sun rays, creating an inviting, tranquil vibe suitable for Scandinavian or mid-century modern spaces.
How to Make It
- Design & Patterning: Sketch a half-circle on freezer paper with radiating rays expanding toward the fabric edges.
- Fabric Selection: Choose solid linen or matte cotton in muted tones—terracotta, beige, oatmeal, and mustard yellow.
- Cutting & Piecing: Foundation paper piece or template-cut the rays. Sew the ray strips together using a sharp $75/11$ Universal needle and a consistent $1/4$-inch seam allowance.
- Appliqué & Assembly: Stitch the central sun semi-circle onto the background panel using a tight satin stitch or a subtle raw-edge appliqué.
- Quilting: Use matchstick quilting (stitching parallel lines spaced $1/8$ to $1/4$ inch apart) along the rays to create rich texture.
- Finishing: Bind with a matching oatmeal fabric and add a hanging rod pocket on the back.
Tips and Variations
- Tip: Press seams open rather than to one side to prevent bulk when stitching dense matchstick lines.
- Variation: Swap warm sun colors for cool ice blues and slates to create a modern “Moonrise” variation.
2. Abstract Watercolor Landscape
Introduction & Concept
An Abstract Watercolor Landscape uses painterly color gradients to mimic serene horizons, misty mountains, or ocean shores through textile selection.
What This Idea Means
This style brings nature indoors using soft, painterly transitions. Instead of sharp geometric lines, it relies on organic curves and blended tonal palettes to evoke peaceful outdoor scenery.
How to Make It
- Material Selection: Gather hand-dyed fabrics, batiks, or ombre textiles ranging from deep forest greens and indigo blues to pale sky pinks.
- Patterning: Freehand-sketch rolling hill contours or mountain silhouettes onto template plastic.
- Appliqué Techniques: Cut organic horizontal strips with smooth curve lines. Use turned-edge needle-turn appliqué or raw-edge fusible web to stack layers from top (sky) to bottom (foreground).
- Assembly: Fuse layers to a sturdy muslin background fabric.
- Quilting: Contour quilt following the natural curves of the landscape lines using variegated thread to enhance the watercolor illusion.
- Finishing: Trim square, bind with dark indigo, and mount on a driftwood branch.
Tips and Variations
- Tip: Use low-contrast threads for quilting so the stitches enhance texture without disrupting the color flow.
- Variation: Create a desert landscape using clay, dusty pink, and burnt Sienna shades.
3. Boho Arch & Archway Patchwork
Introduction & Concept
Architectural arches are a staple in modern boho interior design. Translating nested arch shapes into a quilted wall hanging introduces architectural interest and soft curves to linear spaces.
What This Idea Means
It brings organic geometry into room decor. Nested, repeating arches represent portals and modern art structures, working well in earth-toned, eclectic spaces.
How to Make It
- Designing: Draw concentric arches using a ruler and compass setup or large bowls on paper templates.
- Cutting: Use curved acrylic templates to precision-cut outer arches and inner cores.
- Piecing: Sew curved seams slowly using pins at key anchor points (ends and middle) to ensure smooth curve alignments without puckering.
- Basting & Quilting: Layer top with low-loft cotton batting and backing. Echo-quilt around the arches, following the curve inward and outward.
- Finishing: Finish with raw brass hanging rings sewn along the top edge for a modern Bohemian feel.
Tips and Variations
- Tip: Clip raw seam allowances along internal curves before pressing to allow the curves to lay perfectly flat.
- Variation: Incorporate textured fabrics like cotton muslin, corduroy, or slub linen for additional tactile dimension.
4. Vintage Botanical Leaf Appliqué
Introduction & Concept
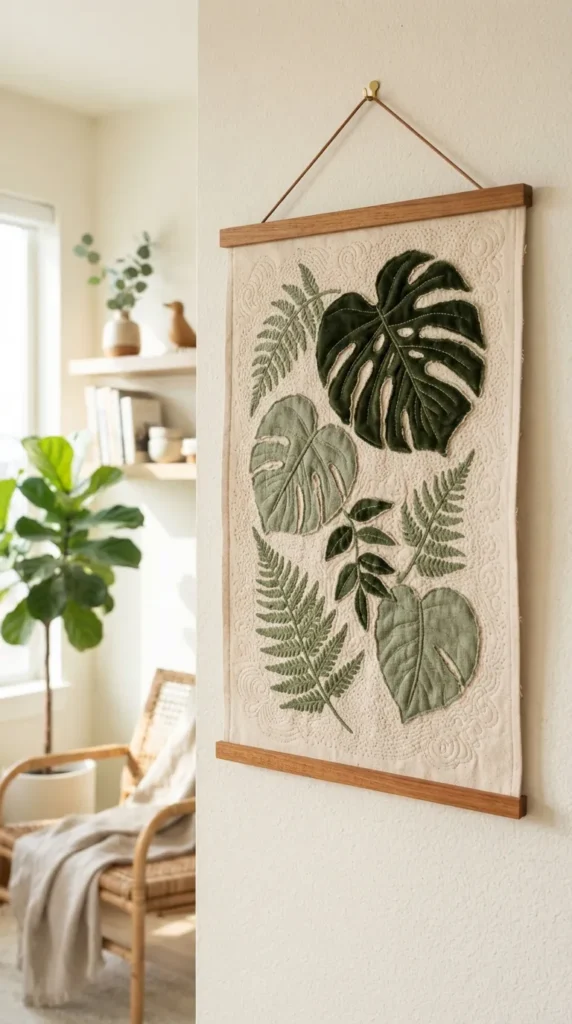
Inspired by antique botanical illustrations, this piece features bold leaf motifs—such as monstera, fern, or oak leaves—appliquéd onto a subtle neutral background.
What This Idea Means
It combines natural botanical aesthetics with traditional appliqué techniques, serving as durable, everlasting greenery for bedrooms, dining areas, or home offices.
How to Make It
- Preparation: Trace large botanical leaf silhouettes onto double-sided fusible web.
- Fabric Choice: Press fusible web to deep olive green, sage, or emerald velvet and linen fabrics.
- Application: Cut out leaf shapes carefully and fuse them onto a background panel of raw unbleached canvas or natural linen.
- Stitching: Blanket-stitch or zigzag-stitch around all leaf edges with matching or metallic thread.
- Quilting: Machine-quilt realistic leaf vein patterns across each leaf, then free-motion stitch organic vine tendrils across the background.
- Finishing: Frame using wooden poster hanger strips at top and bottom.
Tips and Variations
- Tip: Spray starch your background fabric thoroughly before applying fusible web to avoid fabric distortion during stitching.
- Variation: Use autumn-inspired tones (mustard, rust, plum) on a dark charcoal background for a moody, seasonal aesthetic.
5. Japandi Curved Waves (Seigaiha Modernized)
Introduction & Concept
Blending Japanese minimalism with Scandinavian simplicity, this idea uses repeating continuous wave patterns rendered in clean, neutral tone-on-tone tones.
What This Idea Means
Japandi design emphasizes tranquility, organic warmth, and simple craftsmanship. This wall hanging uses stylized wave arcs to project calmness and balance.
How to Make It
- Pattern Prep: Draft repeating arc segments inspired by traditional Japanese Seigaiha patterns, scaled up for a modern statement look.
- Fabric Selection: Use neutral tones like cream, warm ecru, charcoal grey, and soft slate.
- Constructing: Piece arcs using precise curved template piecing or precise needle-turn appliqué techniques.
- Quilting: Hand-quilt parallel arcs using thick Japanese Sashiko thread in contrasting cream thread.
- Finishing: Add thin Japanese bamboo rods at the top and bottom edge for hanging.
Tips and Variations
- Tip: A contrast-color Sashiko thread brings out traditional craftsmanship details while maintaining modern layout clean lines.
- Variation: Use a dark navy background with off-white hand stitching for high-contrast drama.


6. Celestial Phase of the Moon
Introduction & Concept
Celestial motifs bring a magical, night-sky feel to modern rooms. A lunar phase wall hanging displays the progression from crescent moon to full moon.
What This Idea Means
Symbolizing passage of time, cycles, and mystery, this piece uses high-contrast shapes—like glowing moons against dark night backgrounds—to create a captivating centerpiece.
How to Make It
- Layout Setup: Lay out a vertical panel of dark night-sky fabric (black, deep indigo, or midnight navy).
- Moon Creation: Cut out full, gibbous, quarter, and crescent moon shapes from white, metallic gold, or marble-patterned silk/cotton.
- Appliqué: Secure moon phases vertically down the center of the dark background using fusible web and satin-stitch down the raw edges.
- Quilting: Stitch fine radial starburst lines extending out from each moon phase. Add hand-embroidered French knots around the background to represent small stars.
- Finishing: Trim with gold bias binding and attach a brass chain hanger.
Tips and Variations
- Tip: Use metallic gold or silver embroidery thread for background star detailing to catch ambient room lighting.
- Variation: Create a horizontal moon phase layout to stretch across a wide space above a headboard or sofa.
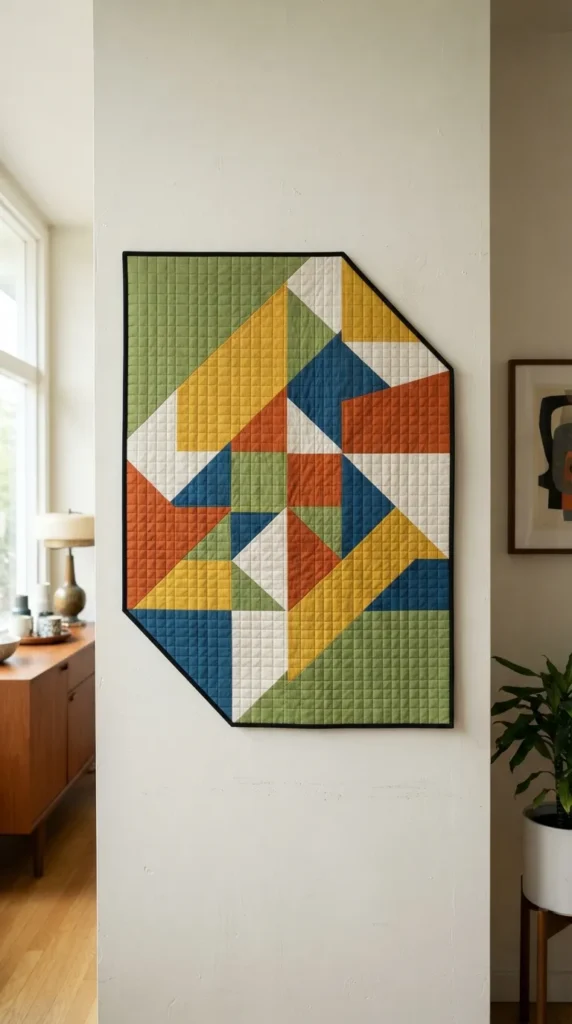
7. Mid-Century Geometric Block Assembly
Introduction & Concept
Drawing inspiration from 1950s modernist graphic design, this concept features bold geometric shapes—triangles, circles, and parallelograms—arranged in an asymmetrical layout.
What This Idea Means
It brings mid-century architectural playfulness and graphic art into modern rooms through block construction and vibrant retro color schemes.
How to Make It
- Design Draft: Create an off-center geometric composition on graph paper.
- Palette Choice: Combine classic retro shades: avocado green, mustard yellow, burnt orange, teals, and soft off-white neutrals.
- Piecing: Precision-cut geometric pieces and join into sub-assemblies. Press seams flat with a tailoring clapper.
- Quilting: Utilize straight-line grid quilting using a walking foot to create a precise cross-hatch structure.
- Finishing: Bind in solid black to frame the geometric color blocks like a modern art piece.
Tips and Variations
- Tip: A walking foot is essential for maintaining straight lines across intersecting seam intersections without shifting.
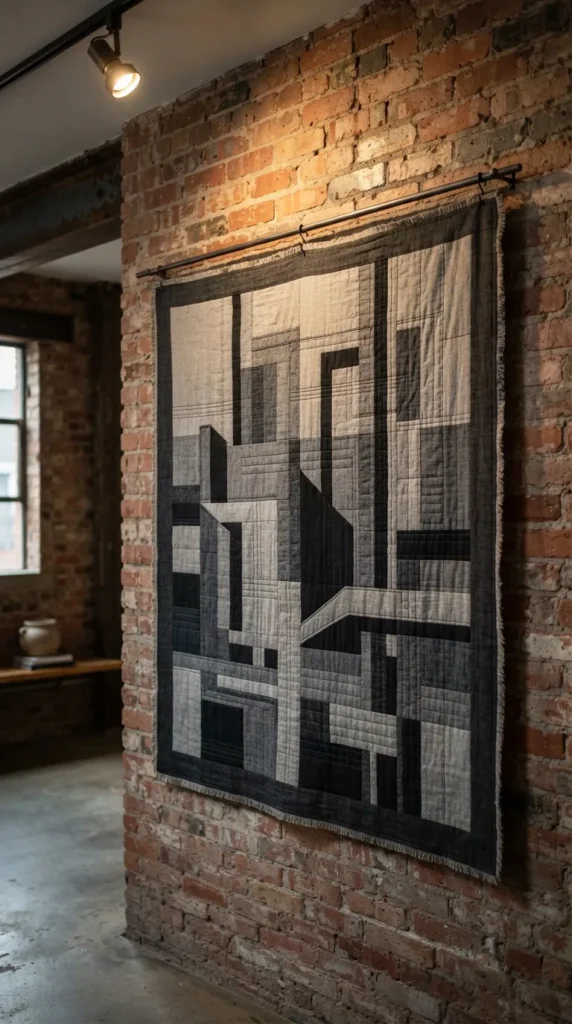
- Variation: Stick strictly to monochrome greys and blacks for a sharp industrial graphic look.
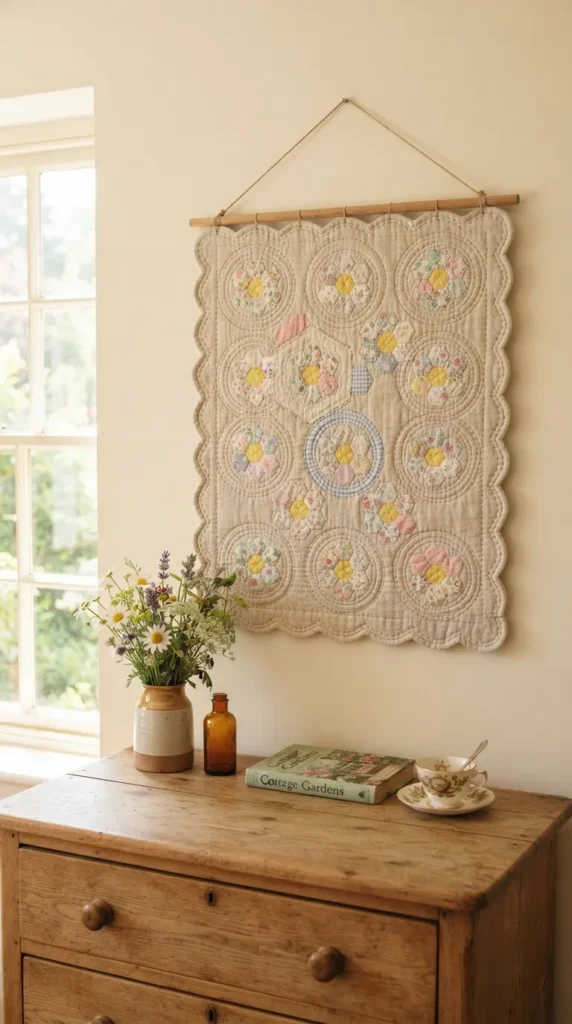
8. Cozy Cottagecore Hexagon Flower Garden
Introduction & Concept
English Paper Piecing (EPP) comes alive in this charming cottagecore-inspired design. Tiny fabric hexagons are arranged into blooming flower motifs across a soft background.
What This Idea Means
Cottagecore aesthetics celebrate handcrafting, slow living, and romantic florals. This technique highlights traditional hand-sewing skills in a soft, vintage design.
How to Make It
- EPP Basting: Wrap small floral and pastel fabric scraps around 1-inch paper hexagon templates and basting-stitch through paper.
- Flower Assembly: Sew six petal hexagons around a central yellow/gold hexagon to form individual flower clusters using a whip stitch.
- Appliqué to Background: Arrange floral clusters onto a background of linen or pastel cotton. Appliqué clusters down using invisible ladder stitching.
- Quilting: Hand-quilt around each flower unit using embroidery floss to give a soft, dimensional padded look.
- Finishing: Finish with scallop edge binding or delicate cotton lace trim along the edges.
Tips and Variations
- Tip: Keep hexagon paper templates in place until all units are stitched together to maintain crisp geometric edges.
- Variation: Arrange hexagons in modern color-blocked gradient bands rather than flower shapes for a modern spin.
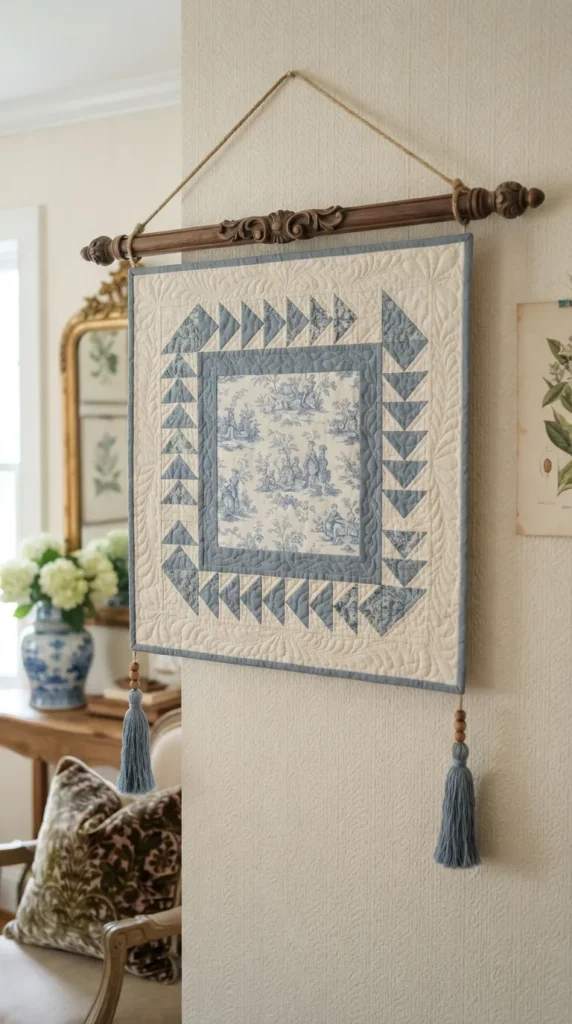
9. Grandmillennial Chintz & Toile Medallion
Introduction & Concept
Celebrating classic heritage style, this wall hanging features a central traditional motif frame—like Toile de Jouy or classic floral chintz—encased within elaborate patchwork borders.
What This Idea Means
Grandmillennial style blends traditional decor elements with contemporary styling. This piece adds traditional elegance and nostalgia to modern interiors.
How to Make It
- Center Piece: Fussy-cut a large, captivating scene from classic Toile de Jouy or floral chintz fabric to serve as the center medallion.
- Framing: Build nested borders around the center panel using flying geese, half-square triangles, and coordinating solid strips.
- Quilting: Execute elaborate feather scroll quilting or traditional cross-hatching across the center frame using high-shine silk or mercerized cotton thread.
- Finishing: Finish with a classic stripe binding and decorative tassel hanging accents on bottom corners.
Tips and Variations
- Tip: Fussy-cutting ensures your main motif is perfectly centered within the frame before adding pieced borders.
- Variation: Use modern graphic floral prints instead of traditional toile for a contemporary twist.
10. Moody Dark Floral Appliqué
Introduction & Concept
Inspired by Dutch Golden Age painterly still life, this wall hanging presents large, dramatic floral blooms against dark, moody backgrounds like jet black or deep charcoal.
What This Idea Means
It offers dramatic interior contrast. Deep, moody backgrounds make floral colors pop, creating an elegant focal point for dining areas or dark accent walls.
How to Make It
- Background Preparation: Prepare a dark, high-density cotton or dark linen backing panel.
- Motif Preparation: Cut out intricate rose, peony, and leaf shapes from saturated jewel-toned fabrics (crimson, deep violet, emerald green, warm amber).
- Composition & Appliqué: Lay out an asymmetrical, overflowing floral arrangement. Secure layers using fusible webbing and stitch raw edges down using tonal or contrasting threads.
- Quilting: Free-motion quilt dense background filler (like pebbles or stippling) in dark thread so the floral motifs pop in relief.
- Finishing: Bind with matching dark fabric to eliminate visual distractions around the edges.
Tips and Variations
- Tip: Dense quilting on dark background areas creates a raised 3D effect on the flower motifs.
- Variation: Add sheer silk or organza layers over petals to create translucent depth.


11. Minimalist Line-Art Portrait Quilt
Introduction & Concept
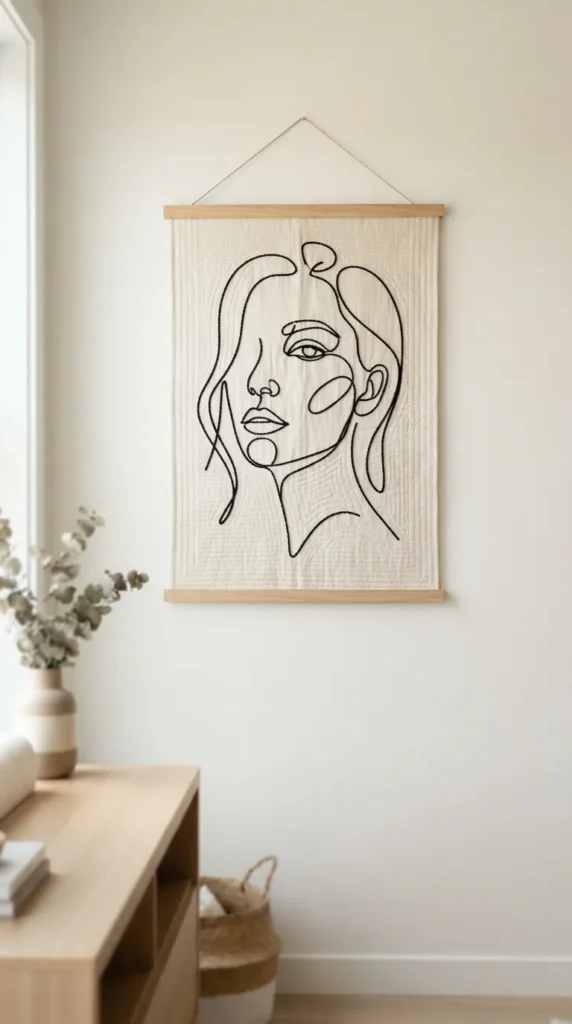
Translating simple continuous line-art drawings into modern quilted textiles. Simple figurative silhouettes are stitched onto clean fabric backgrounds using raised thread work.
What This Idea Means
Line art brings contemporary figurative illustration into home interiors. Fabric texture softens line art, creating an elegant, gallery-like feel.
How to Make It
- Design Transfer: Transfer a continuous-line face or torso outline onto solid light-colored linen using a water-soluble marker.
- Basting: Sandwich the marked top layer with thin cotton batting and backing.
- Stitching: Quilt directly over line art using thick black sashiko thread, wool yarn, or heavy-gauge embroidery thread to form bold, raised contours.
- Background Quilting: Keep background quilting minimal to emphasize the continuous linework.
- Finishing: Mount in a clear acrylic frame or frame with thin modern light-wood hanger bars.
Tips and Variations
- Tip: Use a couching foot attachment on your sewing machine to easily stitch thick yarn directly along line paths.
- Variation: Create continuous abstract continuous plant or vase line-art outlines instead of portraits.
12. Modern Improv Patchwork Jazz
Introduction & Concept
Improv quilting abandons rigid patterns in favor of intuitive, free-form cutting and piecing. This approach produces a one-of-a-kind art piece filled with energy and rhythm.
What This Idea Means
Improv quilting highlights spontaneous artistic choices. Each piece evolves organically during construction, resulting in unique abstract wall art.
How to Make It
- Scrap Preparation: Gather diverse fabric scraps within a curated palette (e.g., rust, peach, olive, beige, slate).
- Free Cutting: Without using rulers, slice fabrics with a rotary cutter into organic strips, angles, and blocks.
- Intuitive Sewing: Stitch pieces together, ironing seams flat as you build larger patchwork sections. Join smaller sections together until reaching target dimensions.
- Quilting: Quilt using irregular, free-form grid lines that mirror the pieced angles.
- Finishing: Trim edges slightly organic or square, then finish with thin bias binding.
Tips and Variations
- Tip: Limit your color palette to 4-5 shades to keep improv piecing looking cohesive rather than overwhelming.
- Variation: Work exclusively with upcycled denim scraps in varying washes for a modern industrial feel.
13. Textured Raw-Edge Shag & Fringe Quilt
Introduction & Concept
Adding tactile dimension, this wall hanging incorporates exposed raw fabric edges, rag seams, tufted yarns, or woven fringes across its surface.
What This Idea Means
It focuses on texture and tactile warmth, bringing depth to flat walls through touchable, layered elements.
How to Make It
- Cutting: Cut strips or squares from fray-prone fabrics like natural linen, double gauze, and flannel.
- Constructing Rag Seams: Sew pieces together with seam allowances facing the front side instead of the back.
- Fringing: Clip exposed seam allowances every $1/4$ inch using rag quilt snips, taking care not to cut through seam stitches.
- Incorporating Tufts: Insert lengths of thick roving wool or fringed trims within pieced seam joins.
- Washing: Machine wash and dry the completed top section to encourage raw cut edges to fray into soft shag textures.
- Quilting & Finishing: Layer, straight-line quilt through flat areas, and mount on a thick wooden dowel rod.
Tips and Variations
- Tip: Dedicated rag-quilt snips with spring-action handles prevent hand fatigue when clipping seams.
- Variation: Add woven macramé fringes along the bottom edge for extra bohemian flair.
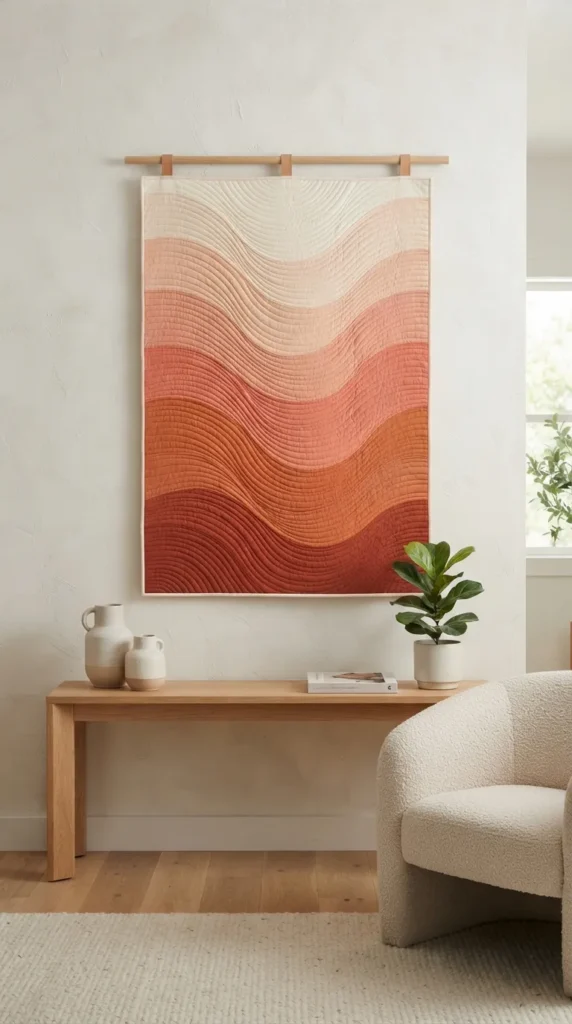
14. Modern Ombren Gradient Waves
Introduction & Concept
An Ombré Wave wall hanging shifts through color tones from light to dark or across complementary hues, evoking natural sunsets or sea transitions.
What This Idea Means
It explores soft color transitions through geometric piecing, bringing smooth visual movement into serene rooms.
How to Make It
- Fabric Sorting: Select 8-12 fabrics that transition smoothly from light cream, through dusty peach, to deep terracotta.
- Cutting Precision: Cut narrow horizontal or gently curved wave strips across each fabric shade.
- Assembly: Join strips sequentially to create a smooth color progression.
- Quilting: Quilt horizontal wave lines across the piece using gradient or variegated threads that match changing fabric tones.
- Finishing: Frame with simple edge binding that matches the top and bottom colors to maintain the seamless gradient look.
Tips and Variations
- Tip: Take a grayscale photo of your selected fabrics on your phone to verify smooth value progression before sewing.
- Variation: Arrange color gradients diagonally across the quilt for dynamic, diagonal energy.
15. Minimalist Log Cabin Monolith
Introduction & Concept
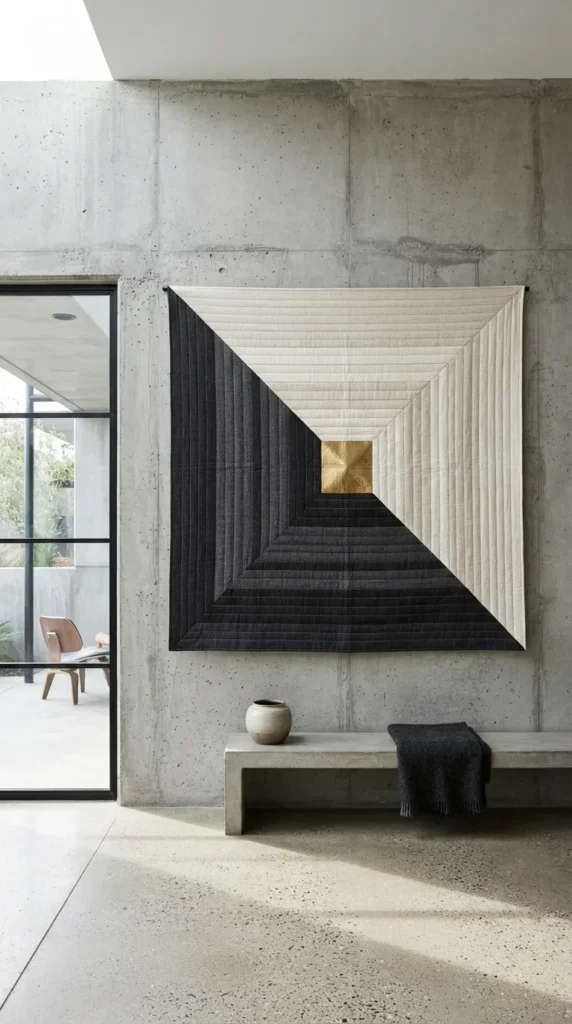
Reimagining the classic Log Cabin quilt block as an oversized modern graphic statement. A single, large log cabin block fills the entire wall hanging layout.
What This Idea Means
It honors traditional quilt heritage while updating scale for modern interiors. Expanding a single block creates a striking graphic art piece.
How to Make It
- Central Focal Point: Start with a central square in a contrasting color (traditionally red, but modern options include brass gold or dark charcoal).
- Building Logs: Sew thick fabric strips (“logs”) around the center square, alternating light-colored strips on one side and dark-colored strips on the other.
- Scale Expansion: Continue adding wide strips ($4$ to $6$ inches wide) until reaching overall desired hanging dimensions ($36\times48$ inches or larger).
- Quilting: Quilt simple straight lines parallel to each log strip to highlight geometric construction.
- Finishing: Bind using an ultra-thin black binding to frame the piece cleanly.
Tips and Variations
- Tip: Use high-contrast fabrics between light and dark sides to highlight the diagonal split of the traditional log cabin block.
- Variation: Offset the center square toward a corner to create an asymmetrical modern layout.


16. Scandinavian Christmas Alpine Trees
Introduction & Concept
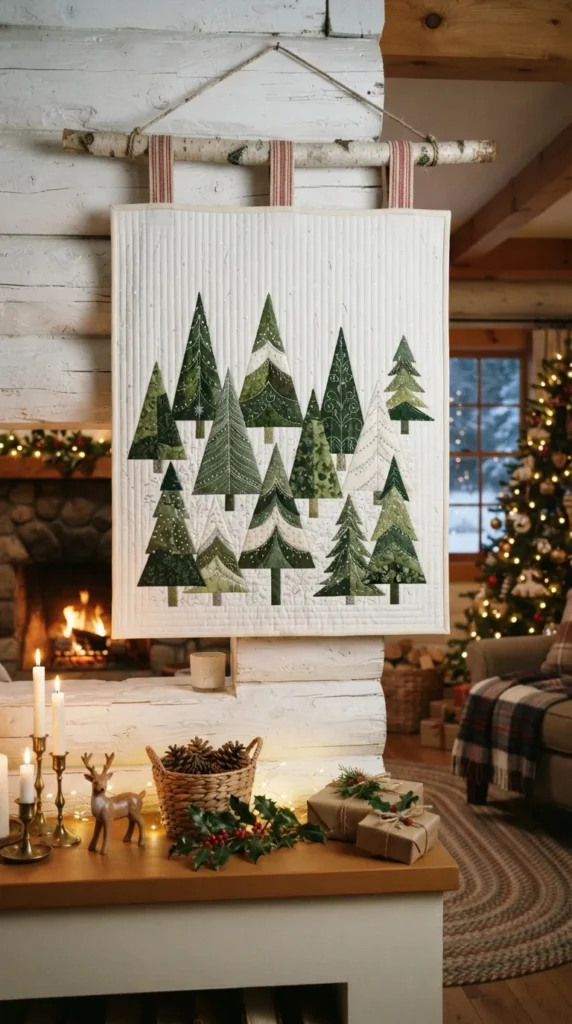
A festive seasonal piece featuring modern Scandinavian-style evergreen trees arranged in a clean layout. Perfect for cozy winter wall decor.
What This Idea Means
Brings subtle, elegant seasonal warmth home without relying on bright commercial holiday decor. Scandinavian minimalist trees fit modern homes seamlessly.
How to Make It
- Block Construction: Construct stylized pine trees using half-square triangles (HSTs) and simple snow-capped rectangle background pieces.
- Fabric Palette: Choose forest green, sage, cream linen, and subtle silver metallic accents.
- Piecing: Join tree blocks in alternating height rows to mimic natural pine forests.
- Quilting: Quilt vertical falling snow lines across the piece using cream embroidery thread.
- Finishing: Top with small woven ribbon loops to hang from a birch wood branch.
Tips and Variations
- Tip: Trim half-square triangles precisely to size before sewing blocks together to keep tree points sharp.
- Variation: Use metallic copper and white fabrics for a modern glam holiday theme.
17. Vibrant Optical Illusion Checkerboard
Introduction & Concept
Playing with perspective, this checkerboard layout uses color contrast and distorted grid lines to create a dynamic 3D optical effect on the wall.
What This Idea Means
It brings playful, energetic optical art into eclectic spaces, playing with color interaction and spatial depth.
How to Make It
- Grid Drafting: Draft a checkerboard grid on paper where squares gradually warp, expand, or curve toward a center focal point.
- Fabric Choice: Select high-contrast pairings like lavender and eggplant, or cream and jet black.
- Strip Piecing & Cutting: Use strip-piecing methods for straight grid sections, and template piecing for warped, expanding squares.
- Assembly: Sew sections carefully, matching grid seam intersections precisely with pins.
- Quilting: Quilt along distorted grid lines using high-contrast thread to emphasize optical depth.
- Finishing: Add sturdy inner canvas lining to keep the piece hanging perfectly taut on the wall.
Tips and Variations
- Tip: Nesting seams (pressing adjacent seams in opposite directions) ensures crisp, clean grid intersections throughout.
- Variation: Use soft pastel shades for a subtle, dreamy warped grid instead of high-contrast colors.
18. Mediterranean Terracotta Tile Patchwork
Introduction & Concept
Inspired by hand-painted Mediterranean and Moroccan tiles, this wall hanging features intricate geometric medallion patterns in warm, Mediterranean tones.
What This Idea Means
It introduces rich cultural architectural motifs and warm clay tones into dining rooms, patios, or living spaces.
How to Make It
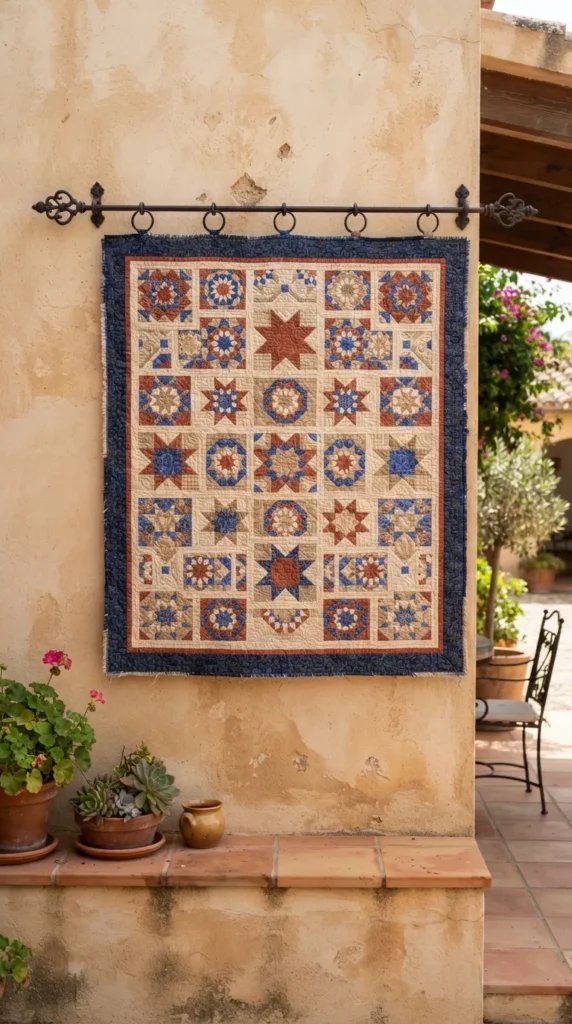
- Block Design: Select a traditional star or medallion block pattern (like the Moroccan Star or Dresden Plate).
- Color Selection: Choose warm terracotta, cobalt blue, sandy beige, and olive green.
- Piecing: Foundation paper piece (FPP) individual tile blocks to ensure sharp geometric points and intersections.
- Grid Layout: Join pieced tile blocks together using wide sashing strips that mimic tile grout lines.
- Quilting: Quilt intricate mosaic tile patterns inside each block using matching threads.
- Finishing: Finish edges with terracotta binding and add dark iron hanging rings.
Tips and Variations
- Tip: Foundation paper piecing (FPP) is ideal for achieving precision on sharp geometric tile points.
- Variation: Stick exclusively to blue-and-white tones to evoke classic Portuguese Azulejo tiles.
19. Moody Celestial Zodiac Constellations
Introduction & Concept
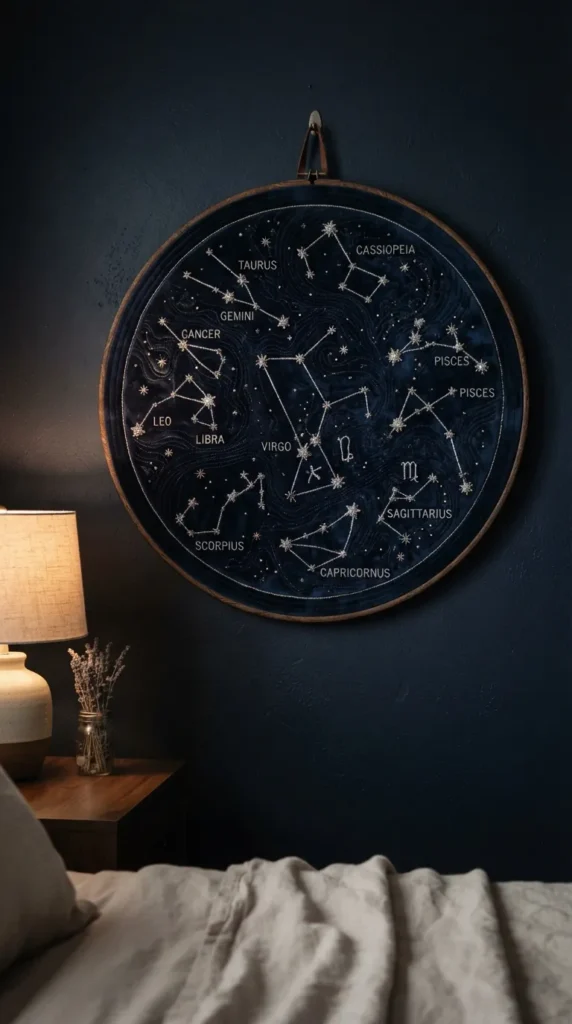
Deep navy velvet or dyed linen serves as a night sky backdrop, decorated with hand-quilted and embroidered astrological star constellations.
What This Idea Means
Combines personalized astrology motifs with tactile textile art, creating a dreamlike focal point for bedrooms or reading nooks.
How to Make It
- Background Prep: Layer deep navy or charcoal velvet fabric onto batting and backing.
- Constellation Mapping: Mark selected zodiac constellations onto fabric using removable chalk or water-soluble ink.
- Quilting & Embroidery: Quilt fine straight lines connecting constellation stars. Hand-embroider star nodes using metallic gold thread, beads, or small sequins.
- Background Detail: Add subtle free-motion stippling or swirling galaxy lines across dark background areas.
- Finishing: Mount in a round wooden embroidery hoop or suspend from a metallic brass dowel.
Tips and Variations
- Tip: Use a leather needle when stitching through velvet layers to prevent fabric dragging.
- Variation: Feature personal family birth-chart constellations for a customized heirloom piece.
20. Raw Modernist Canvas & Leather Collage
Introduction & Concept
A mixed-media masterpiece combining raw unbleached duck canvas, pieced leather scraps, suede, and exposed bronze hardware for an industrial aesthetic.
What This Idea Means
It bridges traditional quilting with modern industrial interior design, making it a great fit for lofts, modern offices, or rustic spaces.
How to Make It
- Material Sourcing: Collect heavy unbleached painter’s canvas, leather offcuts, suede strips, and brass rivets.
- Layout Assembly: Arrange canvas and leather pieces in an asymmetrical modern composition.
- Stitching: Use a heavy-duty denim or leather sewing machine needle ($100/16$) with heavy topstitching thread to join canvas and leather.
- Hardware Application: Install brass rivets at seam corners for structural reinforcement and visual detail.
- Quilting: Quilt sparse, wide-spaced straight lines across canvas areas using heavy utility thread.
- Finishing: Secure top edge directly to a flat iron bar using leather strap hanging loops.
Tips and Variations
- Tip: Use a Teflon or roller presser foot on your sewing machine to glide smoothly over leather surfaces without sticking.
- Variation: Use upcycled canvas utility bags or military surplus fabrics for an authentic vintage industrial feel.