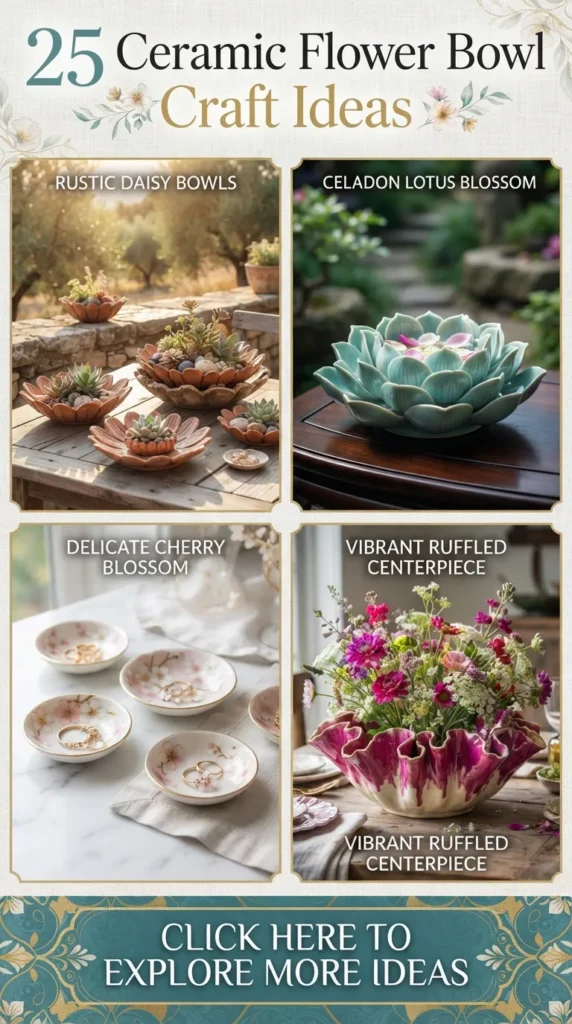
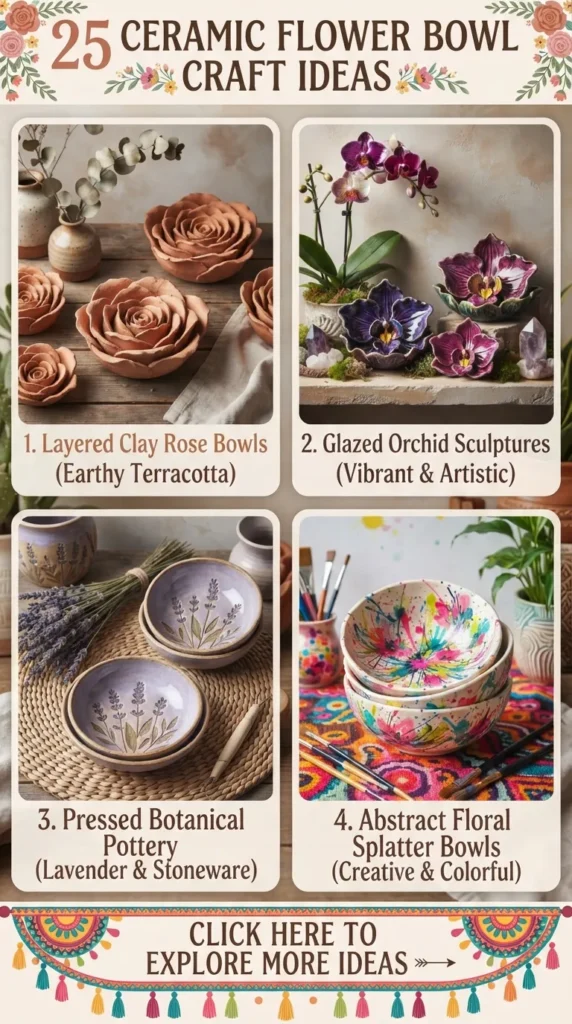
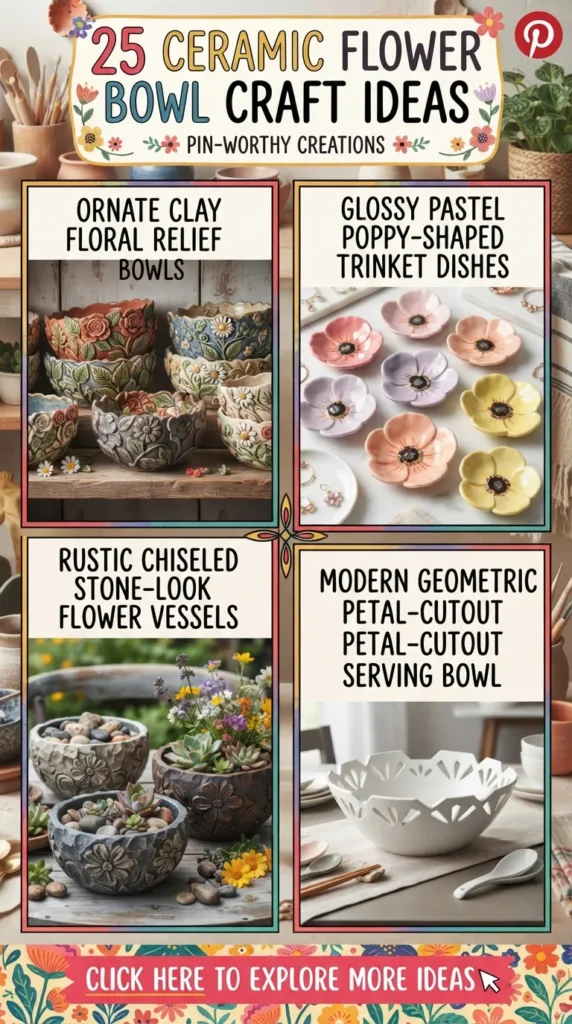
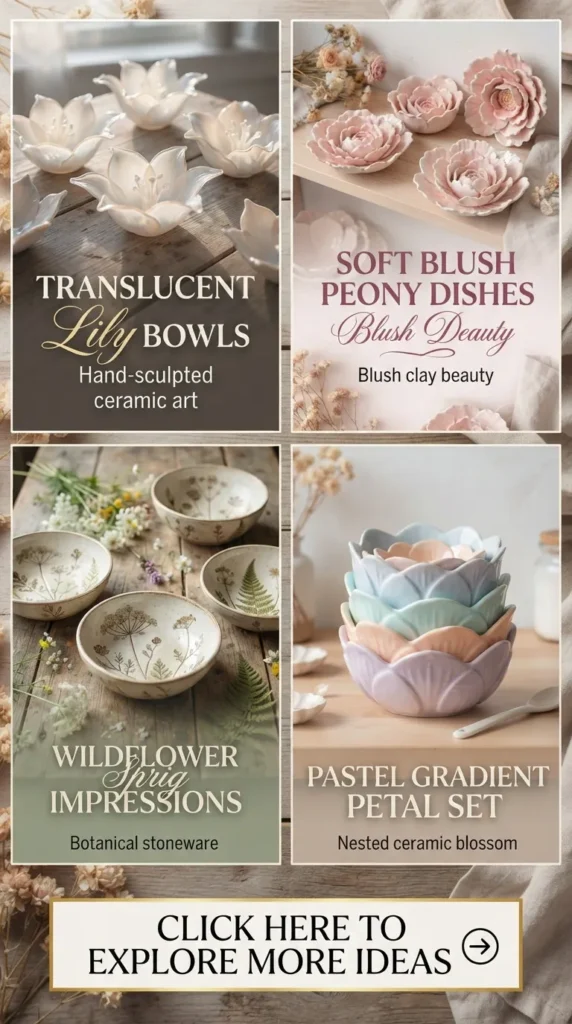
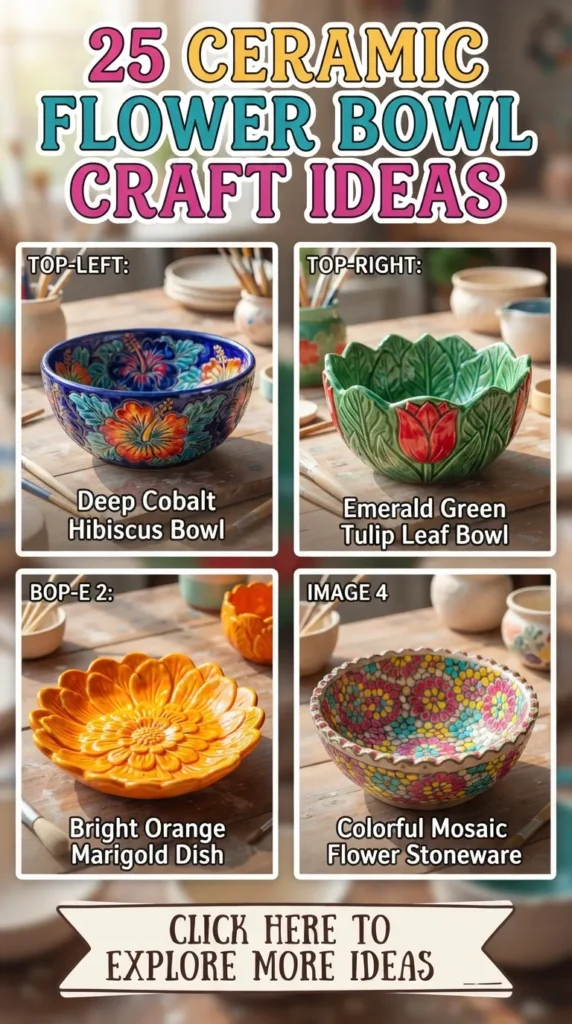
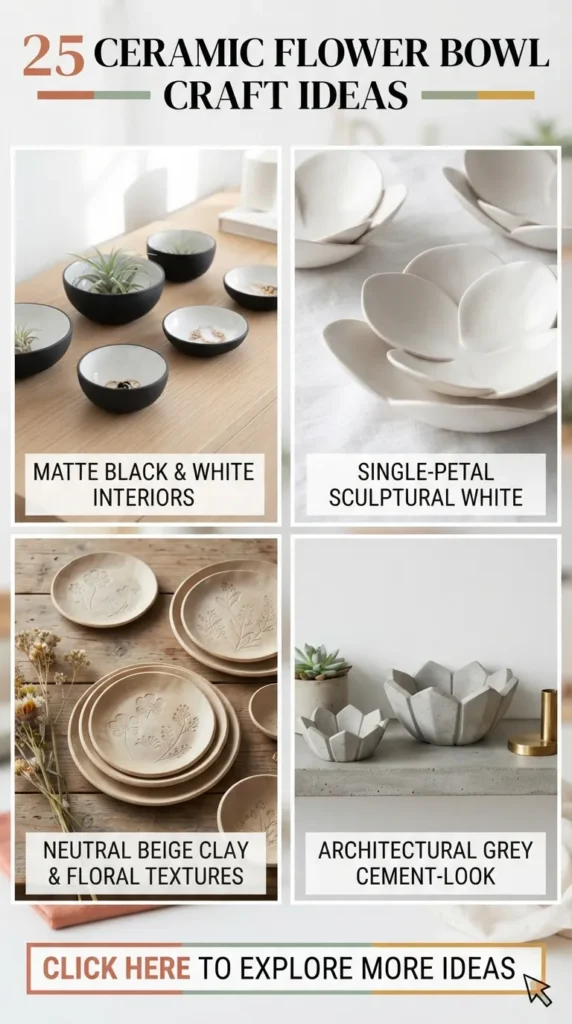
Ceramic craft making brings a grounding, meditative quality to creative practice, blending tactile artistry with functional everyday beauty. Crafting ceramic flower bowls, in particular, offers an endless canvas for exploring shape, texture, glaze movement, and structural design. Whether designed as decorative centerpieces, functional tableware, or whimsical garden accents, these flower bowls allow ceramicists of all skill levels to translate natural floral forms into enduring clay art.
Below are 20 handpicked, realistic ceramic flower bowl craft ideas designed to inspire your studio practice, elevate your home decor, or build an engaging portfolio.


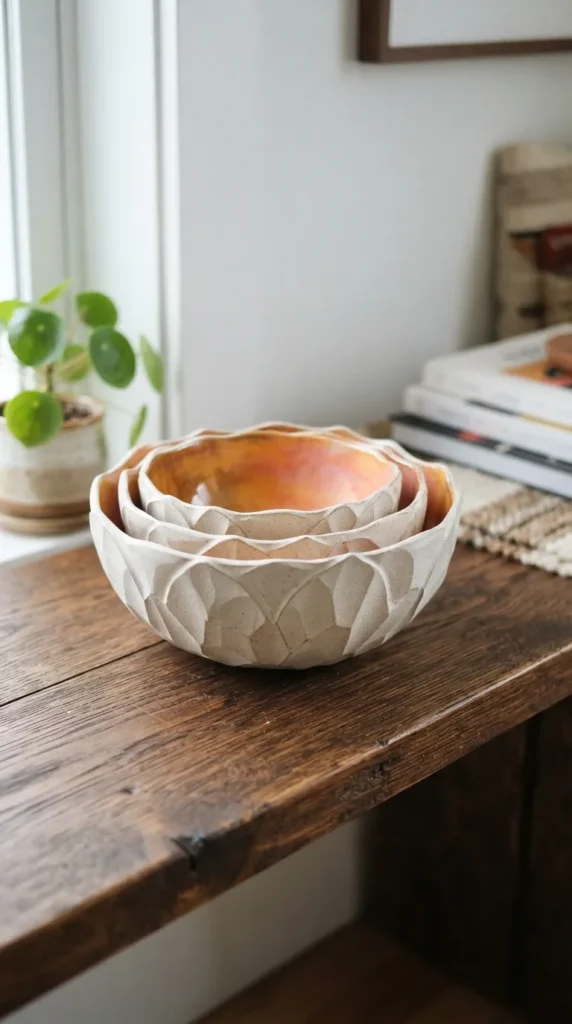
1. Sculpted Blooming Dahlia Clay Bowl
Introduction
The Blooming Dahlia Bowl mimics the dense, architectural petal arrangements of a full-bloom dahlia. This design acts as an eye-catching focal piece, using layered, pointed petals that flare outward from a sunken center.
What This Idea Means
It is an expressive, multi-layered pinch-and-slab technique where individual clay petals are sculpted and attached to a shallow base bowl, creating dramatic depth and structural shadow.
How to Make It
- Base Creation: Throw or hand-build a low, wide, dish-shaped bowl base using mid-fire stoneware clay.
- Petal Forming: Roll thin clay sheets and cut out rounded, tear-drop-shaped petals in three distinct sizes (small, medium, large). Pinch the tips to form a slight fold.
- Layering & Attachment: Score and slip the largest petals along the outer rim of the bowl base. Add the medium layer just inside, overlapping slightly, and finish with the smallest petals near the center bowl well.
- Detailing: Smooth out seam connections using a soft rubber rib or silicone modeling tool.
- Firing & Glazing: Bisque fire, then apply a satin white glaze on the tips fading into a soft blush or coral glaze toward the core. High-fire as appropriate for your clay body.
Tips & Variations
- Keep petal thickness consistent to avoid cracking during drying.
- Variation: Craft a monochromatic matte black version for a dramatic, modern botanical look.
Needs to Make
- Mid-fire stoneware clay
- Clay slab roller or rolling pin
- Scoring tool and slip
- Rubber ribs and silicone modeling tools
- Soft botanical glazes
2. Fluted Lotus Blossom Water Bowl
Introduction
Inspired by classic Asian aquatic gardens, the Fluted Lotus Blossom Water Bowl features delicate, curving petals with smooth fluted edges, ideal for floating single flower buds or holding water.
What This Idea Means
This craft focuses on fluid lines and soft curves, creating a serene, balanced bowl that evokes peaceful garden ponds.
How to Make It
- Forming the Bowl: Pinch or throw a medium-sized bowl with rounded walls.
- Shaping Petals: While the clay is soft-leather hard, divide the rim into 6 to 8 equal sections using a needle tool.
- Fluting the Rim: Gently push outwards at each section mark while pinching the spaces between to form scalloped lotus tips.
- Adding Vein Texture: Use a smooth wooden modeling tool to carve subtle, radial lines along the interior of each lotus segment.
- Drying & Glazing: Dry slowly under plastic. Apply a glossy celadon or watery teal glaze that pools into the carved interior veins.
Tips & Variations
- Work at leather-hard stage to ensure clean carving lines without burrs.
- Variation: Add small carved frog or koi fish accents inside the bowl well.
Needs to Make
- White stoneware or porcelain clay
- Pottery needle tool
- Wooden modeling tools
- Celadon or translucent glaze
3. Pressed Wildflower Impression Shallow Bowl
Introduction
This project captures the delicate textures of real botanical specimens by pressing fresh wildflowers directly into raw clay before forming a shallow dish.
What This Idea Means
A nature-print craft that immortalizes organic flora inside ceramic tableware, making every single piece entirely unique.
How to Make It
- Rolling the Slab: Roll a smooth 1/4-inch clay slab using low-grog white clay.
- Imprinting: Lay fresh, thick-petaled wildflowers or fern leaves across the slab. Place wax paper over them and roll gently with a wooden rolling pin to impress the shapes.
- Removing Flora: Carefully peel away the plants using tweezers.
- Drape Forming: Cut the slab into a circle and drape it gently over a shallow rounded plaster mold or bowl form.
- Finish & Glaze: After bisque firing, apply an oxide wash (such as iron or cobalt wash) into the floral impressions, wipe away the surface excess, and cover with a clear satin glaze.
Tips & Variations
- Use plants with firm stems and thick petals for crisp impressions.
- Variation: Highlight specific flower centers with colorful underglazes before applying clear glaze.
Needs to Make
- Low-grog white clay
- Fresh wildflowers or foliage
- Tweezers
- Plaster drape mold or bowl form
- Underglazes/oxide washes & clear topcoat glaze
4. Layered Sunflower Petal Serving Dish
Introduction
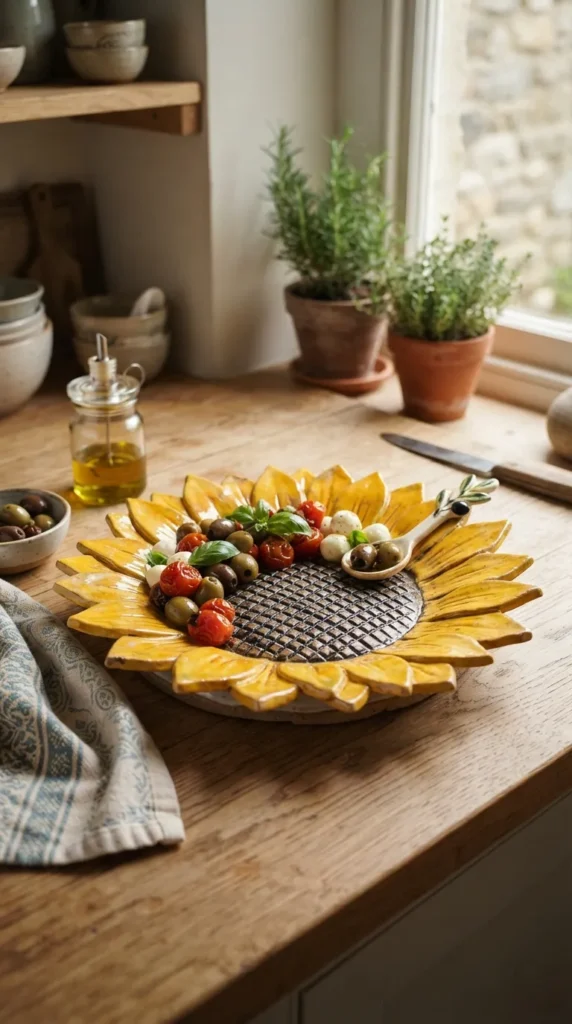
Bright, energetic, and rustic, the Layered Sunflower Petal Serving Dish incorporates bold, pointed petals radiating from a textured central seed grid.
What This Idea Means
A vibrant, functional art piece combining geometric center texturing with freeform organic petal crafting.
How to Make It
- Center Grid: Create a wide, flat disc bowl center. Press a mesh screen or cross-hatch carving tool into the center to mimic sunflower seeds.
- Petal Construction: Cut individual pointed petals from a slab.
- Assembly: Attach two overlapping rows of petals around the central disc using scoring and slip techniques. Angle the outer petals slightly upward to form a bowl dish contour.
- Drying: Support the outer rim with foam wedges while drying to maintain shape.
- Coloring: Paint the central grid with dark brown/black underglaze and the petals with warm golden-yellow glaze.
Tips & Variations
- Ensure the center dish well remains wide enough if intended for food service.
- Variation: Substitute yellow glazes with deep ochre and burnt orange for an autumn-inspired finish.
Needs to Make
- Stoneware clay
- Mesh screen or carving tool for texturing
- Foam supports for drying
- Yellow, brown, and black underglazes/glazes
5. Organic Calla Lily Rolled Edge Bowl
Introduction
Sleek, minimalist, and elegant, this design borrows the singular folded form of a Calla Lily blossom to create an asymmetrical ceramic vessel.
What This Idea Means
An exercise in asymmetrical ceramic design where a single rolled slab forms both the walls and decorative flare of the bowl.
How to Make It
- Slab Cut: Cut a teardrop or oval shape from a smooth slab of porcelain or fine white stoneware.
- Forming the Fold: Gently roll one edge inward toward the center while flaring the opposite tip upward, mimicking the classic calla lily spathe fold.
- Pistil Accent: Hand-sculpt a small central pistil cone and attach it at the interior base fold.
- Drying Support: Use crumpled paper or foam under the elevated edges to preserve the asymmetrical shape until leather-hard.
- Glaze: Finish with a stark matte white glaze on the exterior and a soft butter-yellow glaze on the central pistil.
Tips & Variations
- Be careful not to bend the slab too fast to prevent structural cracking.
- Variation: Combine two calla lily forms together to create a dual-well bowl.
Needs to Make
- Porcelain or fine white stoneware
- Slab cutter
- Crumpled paper or foam supports
- Matte white glaze and accents


6. Rustic Terracotta Daisy Pedestal Bowl
Introduction
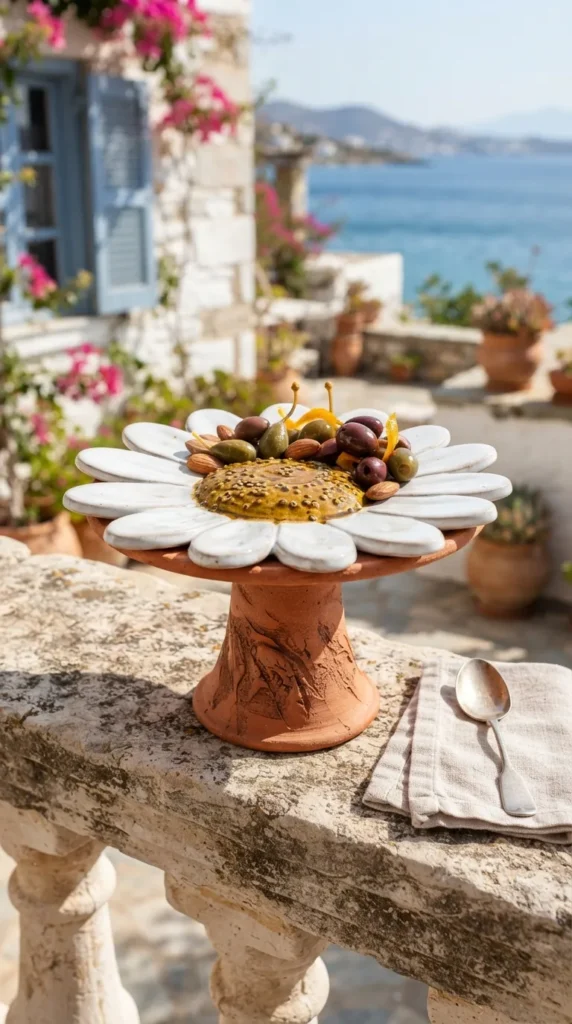
Featuring an elevated stem base, this dish combines earthy terracotta textures with cheerful daisy petals for a charming Mediterranean atmosphere.
What This Idea Means
A two-part construction project pairing a wheel-thrown or hand-built pedestal stem with a daisy-shaped dish top.
How to Make It
- Pedestal Base: Throw or coil-build a flared cylindrical stem base.
- Daisy Dish: Create a shallow bowl, then notch out rounded petals along the rim using an exacto knife or clay cutter.
- Joining: Score and slip the base of the daisy dish onto the pedestal stem while both are medium leather-hard.
- Surface Treatment: Leave parts of the terracotta exposed for texture contrast.
- Glazer application: Apply opaque white slip or glaze selectively to the petals, leaving the raw warm terracotta exposed on the pedestal base.
Tips & Variations
- Allow both pieces to reach identical moisture levels before joining to avoid separation during drying.
- Variation: Carve small line details down each daisy petal for added texture.
Needs to Make
- Red terracotta clay
- Scoring tool and thick slip
- Clay cutting knife
- White ceramic glaze or slip
7. Delicate Cherry Blossom Mini Trinket Bowl
Introduction
A dainty, small-scale bowl designed after the iconic five-petaled cherry blossom (Sakura), perfect for holding rings, small jewelry, or salt.
What This Idea Means
Miniature ceramic sculpting that focuses on soft curves, thin edges, and delicate pastel glazing.
How to Make It
- Pinch Form: Form a small sphere of light clay into a thin, delicate pinch bowl.
- Petal Shaping: Make five subtle indents around the rim using your thumbs, then pinch the center of each section to form five distinct petals with tiny notched tips.
- Stamen Details: Carve fine lines in the center well using a needle tool.
- Glazing: Apply a pale pink glaze inside, allowing it to pool slightly deeper near the center, with a soft matte white on the exterior.
Tips & Variations
- Keep the walls thin to capture the delicate essence of cherry blossoms.
- Variation: Create a set of three matching bowls in varying blossom stages (bud, half-open, full bloom).
Needs to Make
- White stoneware or porcelain
- Needle tool
- Soft pink and white glazes
8. Deep Peony Ruffled Centerpiece Bowl
Introduction
Cascading layers of voluptuous, ruffled petals define this grand centerpiece bowl, capturing the lush drama of a peony in full summer bloom.
What This Idea Means
An advanced hand-building technique utilizing thin, wavy slab strips assembled in concentric circles within a deep bowl form.
How to Make It
- Main Bowl: Form a medium-deep bowl to serve as the supporting structure.
- Ruffled Petals: Roll thin strips of clay and use a ball tool or your fingers to stretch and wave the edges until ruffled.
- Layering: Attach these ruffled bands continuously around the interior walls of the bowl, working from the outer rim down to the bottom well.
- Refining: Soften attachments with slip to ensure structural strength.
- Glaze Finish: Fire and glaze with a glossy magenta, deep rose, or soft cream glaze that highlights the dynamic shadows created by the ruffles.
Tips & Variations
- Keep the clay covered with damp paper towels while working to keep ruffled edges from drying out and cracking prematurely.
- Variation: Use contrasting glaze shades on the inner and outer petal surfaces.
Needs to Make
- Stoneware clay
- Clay ball tools
- Deep bowl slump form
- Dynamic glossy glazes
9. Geometric Succulent Rose Clay Vessel
Introduction
Merging geometric order with organic beauty, this vessel replicates the thick, spiraling petal formation of a succulent rose (Echeveria).
What This Idea Means
A craft focused on sculptural weight, thick smooth forms, and geometric precision inspired by desert flora.
How to Make It
- Base Shell: Throw or build a thick-walled, heavy-bottomed bowl form.
- Thick Petal Modeling: Hand-sculpt thick, smooth, pointed succulent leaves that curve gently inward.
- Spiral Assembly: Attach petals in a tight spiraling arrangement starting from the base center and working outward, increasing petal size progressively.
- Finishing: Smooth all outer seams for a clean, sculptural aesthetic.
- Glazing: Apply a dusty sage green matte glaze, dry-brushing the tips with a soft lavender or dusty pink glaze accent.
Tips & Variations
- Ensure thick petals are hollowed slightly if excessively heavy to prevent firing issues.
- Variation: Glaze in a single uniform matte charcoal for a contemporary architectural look.
Needs to Make
- Mid-fire stoneware clay
- Sculpting tools
- Matte sage, green, and lavender glazes
10. Carved Hydrangea Cluster Trinket Dish
Introduction
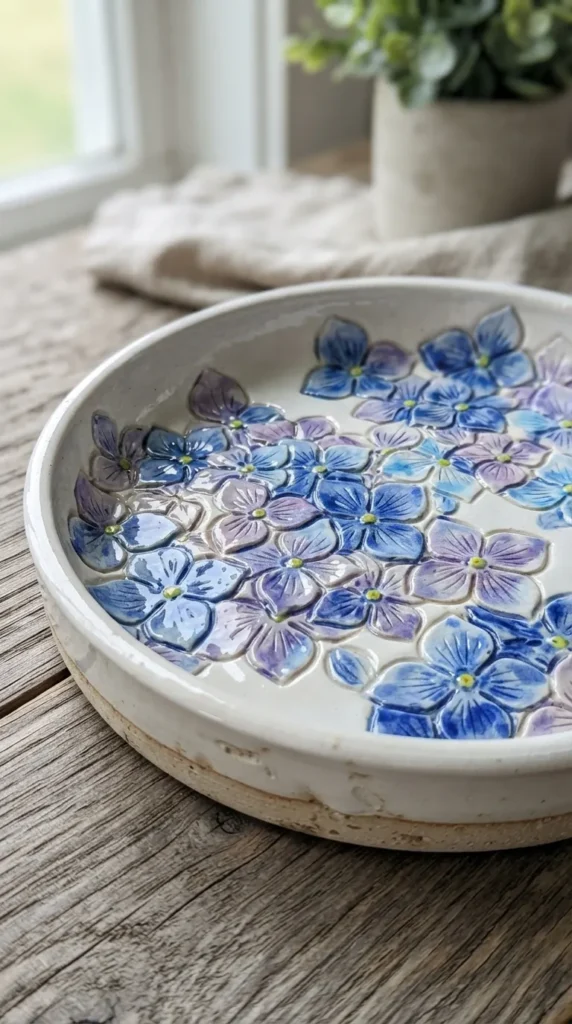
Rather than featuring a single blossom shape, this dish showcases a rich, textured surface carved with clusters of tiny four-petaled hydrangea flowers.
What This Idea Means
A sgraffito or relief carving technique applied inside a simple, elegant bowl form.
How to Make It
- Dish Creation: Throw a clean, simple, flat-bottomed shallow dish.
- Relief Modeling or Carving: Either press small 4-petal clay stamps into the interior or hand-carve small flower clusters across the inner surface.
- Border Touch: Keep the outer rim smooth to frame the dense flower cluster interior.
- Coloring: Apply blue, purple, and periwinkle underglazes to individual petals.
- Clear Coat: Seal the piece with a high-gloss clear glaze to make the carved detail pop.
Tips & Variations
- Craft a custom plaster or bisque stamp of a 4-petal hydrangea blossom to speed up the detailing process.
- Variation: Leave the exterior unglazed raw clay for a nice textural contrast against the glossy carved interior.
Needs to Make
- White stoneware
- Flower stamps or carving tools
- Underglazes (blue, violet, soft green)
- Glossy clear glaze



11. Botanical Water Lily Floating Flower Dish
Introduction
Designed to sit flat on surfaces with a wide, open footprint, this dish mimics a serene water lily floating gracefully on a pad.
What This Idea Means
A broad, low-profile craft combining a outer pad base with an inner layered water lily petal structure.
How to Make It
- Lily Pad Base: Cut a wide circular slab, notch out a classic triangular lily pad slice on one side, and add subtle vein carvings.
- Flower Center: Build a shallow bowl atop the lily pad.
- Pointed Layering: Attach slender, pointed water lily petals inside the bowl perimeter in concentric tiers.
- Center Anther: Add small rolled stamens in the very center.
- Glaze Application: Glaze the lily pad base in deep forest green and the lily petals in brilliant white or bright pink.
Tips & Variations
- Keep the lily pad base flat during firing to avoid warping; use a flat kiln shelf.
- Variation: Add small sculpted dew drops on the pad using clear glaze beads.
Needs to Make
- Mid-fire stoneware
- Slab cutter & carving tools
- Vibrant green, pink, and white glazes
12. Vintage Tulip Edge Serving Bowl
Introduction
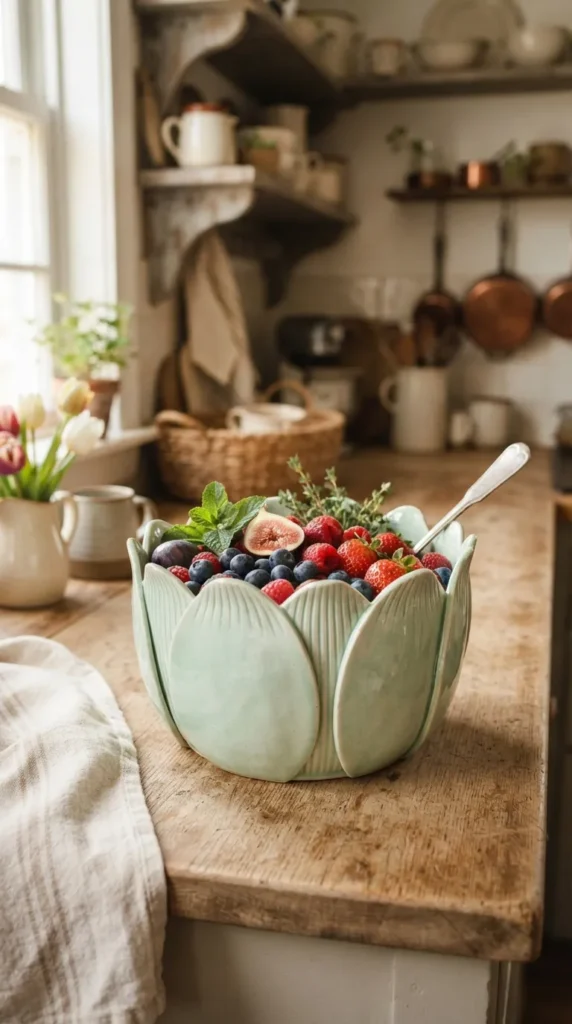
Charming and nostalgic, the Vintage Tulip Edge Serving Bowl uses upright, sweeping tulip petals to form high bowl walls.
What This Idea Means
A high-walled bowl construction technique where individual curved tulip petals interlock to construct the container walls.
How to Make It
- Base Disc: Roll out a thick circular base disc.
- Petal Walls: Cut 5 to 6 broad, curved tulip petal shapes from a leather-hard slab.
- Vertical Assembly: Attach the petals vertically along the perimeter of the base, overlapping their side edges slightly to build high walls.
- Curve Refinement: Flare the tips of the petals slightly outward for an opening tulip effect.
- Glazeing: Glaze using classic pastel shades like soft yellow, mint, or coral pink with a semi-gloss finish.
Tips & Variations
- Support the tall vertical petals from the outside with foam while joining and initial drying.
- Variation: Add light vertical ribbing along the outer wall of each petal.
Needs to Make
- Stoneware clay
- Supporting foam or sponges
- Pastel ceramic glazes
13. Abstract Monstera Floral Hybrid Bowl
Introduction
This project blends tropical Monstera leaf motifs with blooming floral structures, resulting in an artistic hybrid ceramic piece.
What This Idea Means
Modern abstract clay design incorporating deep leaf cutouts with curved petal bowl contours.
How to Make It
- Slab Form: Roll out an uneven, organic slab.
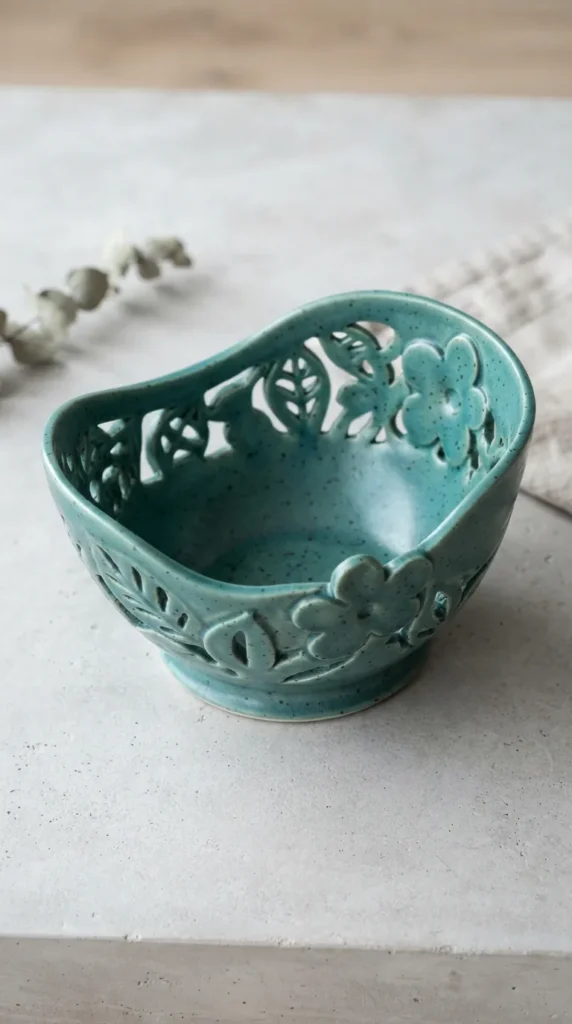
- Cutouts & Carvings: Cut out deep Monstera-style interior slits around the perimeter while maintaining a flower-like radial layout.
- Slump Forming: Slump the slab into a deep round mold so the cut edges curve upward like open petals.
- Detailing: Smooth all cut edges meticulously with a damp sponge.
- Glazing: Use a speckled matte green or satin teal glaze for a mid-century modern look.
Tips & Variations
- Round off all cutout edges; sharp corners can tear during drying.
- Variation: Apply gold leaf accents to the inner cutout edges post-firing.
Needs to Make
- Stoneware clay
- Clay scalpel or exacto knife
- Round slump mold
- Satin or speckled glazes
14. Pressed Pansy Face Ring Dish
Introduction
Capturing the whimsical “faces” of pansy flowers, this small ring dish uses delicate hand-sculpting and vivid underglaze painting.
What This Idea Means
A combination of shallow ceramic hand-forming and painterly underglaze techniques.
How to Make It
- Shallow Dish: Pinch a small, rounded oval dish.
- Petal Overlays: Add overlapping, flat clay petal shapes to create the iconic 5-petal pansy layout.
- Surface Preparation: Smooth the surface thoroughly once leather-hard.
- Underglaze Painting: Bisque fire, then paint the distinct pansy face patterns—vibrant yellow center, deep purple/black central blotches, and bright violet or velvet blue outer petals.
- Finish: Apply a coat of clear gloss glaze and fire to finish.
Tips & Variations
- Use fine watercolor brushes for applying underglaze details smoothly.
- Variation: Turn this design into a wall-hanging dish by adding small hanging holes on the back.
Needs to Make
- Fine white clay
- Fine detail paintbrushes
- Multi-color underglazes
- Clear glossy glaze
15. Modernist Calla Cone Fruit Bowl
Introduction
A bold, architectural centerpiece featuring a dramatic, swooping cone form inspired by minimalist botanical lines.
What This Idea Means
Architectural ceramic art prioritizing clean lines, sweeping curves, and bold interior volume.
How to Make It
- Large Slab: Roll out a large, uniform 3/8-inch slab of clay.
- Cone Wrapping: Wrap the slab into an asymmetrical, wide-mouthed cone or funnel shape.
- Flat Base Attachment: Secure a flat disc base to the bottom so the cone sits stably on flat surfaces.
- Edge Refining: Create a single, dramatic sweeping rim line that dips low on one side and flares high on the other.
- Glaze: Coat in a matte chalk-white or satin charcoal glaze to emphasize pure sculptural form over color variance.
Tips & Variations
- Ensure the base connection is reinforced well, as this piece carries an offset center of gravity.
- Variation: Finish with a metallic bronze or iron glaze on the exterior.
Needs to Make
- Heavy-duty stoneware clay
- Large slab roller
- Sculpting ribs
- Neutral matte glazes


16. Wild Anemone Dip Bowl Set
Introduction
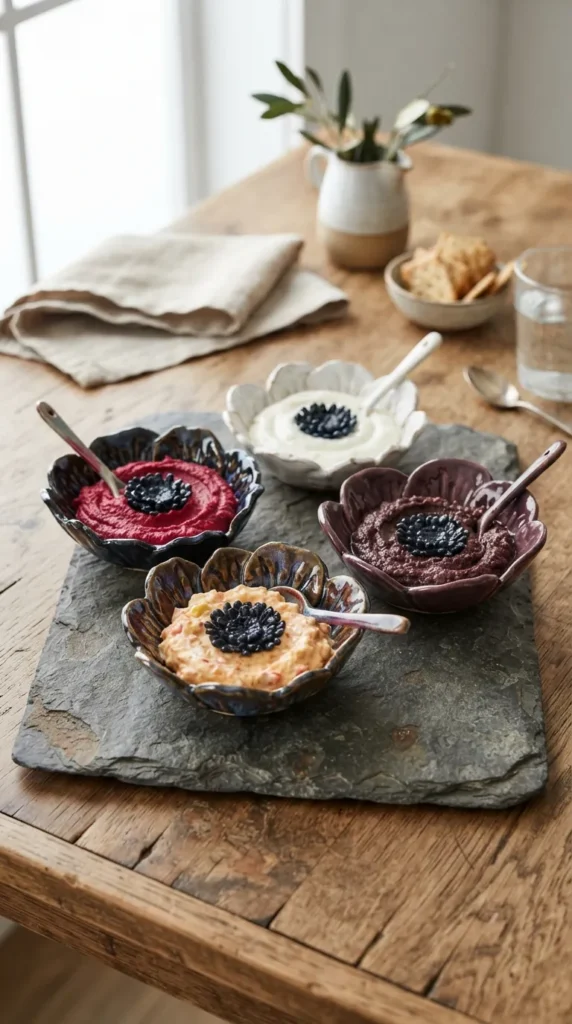
Inspired by poppy-like anemone flowers, this set features dark, contrasting centers with vibrant, cupped outer petals—ideal for serving dips, spices, or condiments.
What This Idea Means
Functional studio pottery featuring bold visual contrast between dark central textures and bright petal walls.
How to Make It
- Cupped Forming: Create small, deep cupped pinch bowls.
- Rim Scalloping: Notch and round the rims to resemble 6 broad anemone petals.
- Center Detail: Build a small raised ring in the center well and press small dotted textures into it to mimic anemone stamens.
- Glazing Contrast: Glaze the central stamen ring in deep matte black/navy and the petal bowl interior in brilliant crimson, white, or plum.
Tips & Variations
- Make a set of 4 with matching shapes but different interior petal glaze colors.
- Variation: Leave the outer bottom raw for a tactile grip.
Needs to Make
- White stoneware
- Texturing tools
- High-contrast glazes (black, plum, crimson, white)
17. Terracotta Dahlia Wall-Hanging Bowl
Introduction
A dual-purpose ceramic craft designed to double as a functional shallow catch-all bowl or a striking floral wall sculpture.
What This Idea Means
Scraffito and wall-art integration with traditional shallow clay bowl making.
How to Make It
- Flat Base Bowl: Form a wide, flat-bottomed shallow dish with flared edges.
- Wall Mount Holes: Punch two sturdy holes through the back foot ring while the clay is leather-hard for hanging wire.
- Petal Sculpting: Build up multi-layered dahlia petals along the interior walls using slab cutouts.
- Drying: Dry slowly flat on a board to prevent warping.
- Firing Finish: Apply a rustic wash or semi-opaque white glaze over terracotta, letting the warm red clay bleed through along raised edges.
Tips & Variations
- Measure hole distance accurately and verify structural integrity before firing.
- Variation: Make a series of three varying sizes for a modular wall installation.
Needs to Make
- Terracotta clay
- Hole punch tool or drill bit
- Rustic white glaze / washes
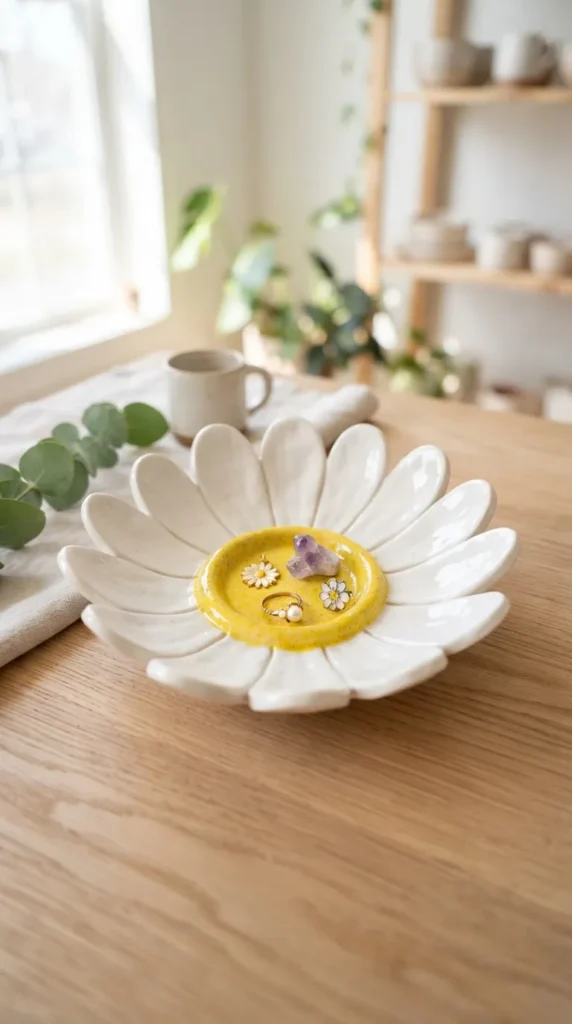
18. Whimsical Daisy Catch-All Bowl
Introduction
Playful, casual, and energetic, this bowl features simple rounded white petals with a raised, bright yellow center dish well.
What This Idea Means
Accessible, cheerful pottery craft focusing on fun forms, clean color separation, and practical daily use.
How to Make It
- Center Dish: Press a small shallow circle into the center of a flat clay disc.
- Petal Cuts: Cut 10 to 12 simple, rounded petals along the perimeter using a butter knife or clay tool.
- Curve Upwards: Gently bend the tips of each petal upward so the entire piece holds items securely.
- Glazing: Paint the center dish with bright sunny yellow glaze and the surrounding petals in bright opaque white.
Tips & Variations
- Perfect project for beginners learning basic slab cutting and shaping techniques.
- Variation: Paint pastel pastel stripes across individual petals for a retro 70s look.
Needs to Make
- Low-fire white clay
- Basic clay cutting tools
- Bright yellow and opaque white glazes
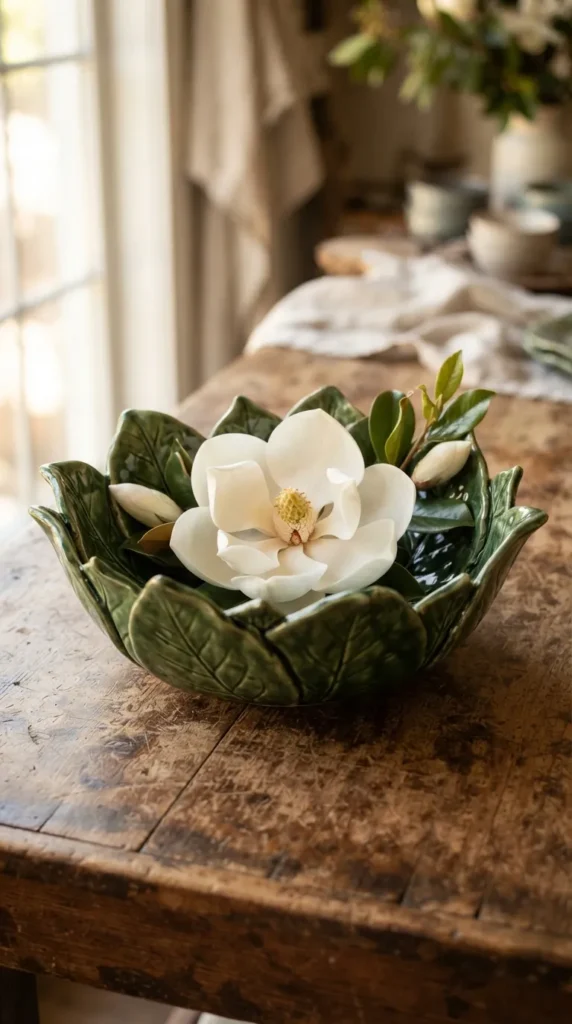
19. Carved Magnolia Leaf & Flower Bowl
Introduction
Combining the heavy structural leaves and delicate petals of the Magnolia tree, this design uses leaves to form the outer bowl structure with a delicate blossom nested inside.
What This Idea Means
An integrated foliage and blossom craft that balances thick, structural leaf base walls with soft inner petal construction.
How to Make It
- Leaf Foundation: Cut three large magnolia leaf shapes from a slab, carve prominent leaf veins, and press them into a bowl mold overlapping each other.
- Central Blossom: Build a open magnolia flower structure directly into the center where the leaves intersect.
- Refining: Soften all attachment joints with slip.
- Glaze Decor: Paint the outer leaf structure with rich glossy satin green and the inner blossom with creamy alabaster white and soft pink highlights.
Tips & Variations
- Ensure strong scoring where the leaf bases overlap to keep the structure solid.
- Variation: Use an antique bronze wash over the leaves for a vintage metallic look.
Needs to Make
- Stoneware clay
- Leaf template or real leaf for veining
- Rich green, cream, and pink glazes
20. Modern Chiseled Blossom Nesting Set
Introduction
A functional 3-piece nesting bowl set where each bowl represents a different stage of a flower opening, featuring clean faceted exterior carving.
What This Idea Means
A cohesive ceramic series utilizing facet carving (chiseled technique) to combine modern geometry with organic floral progression.
How to Make It
- Sizing: Throw or hand-build three graduating bowl sizes (small, medium, large).
- Faceted Carving: Once leather-hard, use a fluting or trimming tool to chisel flat vertical facets around the exterior walls, creating a stylized petal texture.
- Rim Shaping: Shape the rims subtly: the smallest bowl tightly closed like a bud, the medium half-open, and the largest broad and blooming.
- Glazing: Coat the exterior with a satin matte white glaze and the interior with a soft warm gradient glaze across the set.
Tips & Variations
- Measure interior/exterior dimensions carefully so all three bowls nest cleanly inside one another.
- Variation: Carve dynamic horizontal facets instead of vertical ones.
Needs to Make
- Stoneware clay
- Fluting / trimming carving tools
- Calipers for sizing
- Satin white and warm interior glazes