Living in a small apartment doesn’t mean compromising on style, functionality, or personal expression. With the right design choices, compact spaces can feel cozy, expansive, and deeply inspiring. The key to mastering small space living lies in smart storage, vertical utilization, strategic lighting, and multi-functional furniture.
Here is an ultimate, room-by-room guide featuring 20 creative, small apartment decor ideas to transform your living space into a chic, organized oasis.



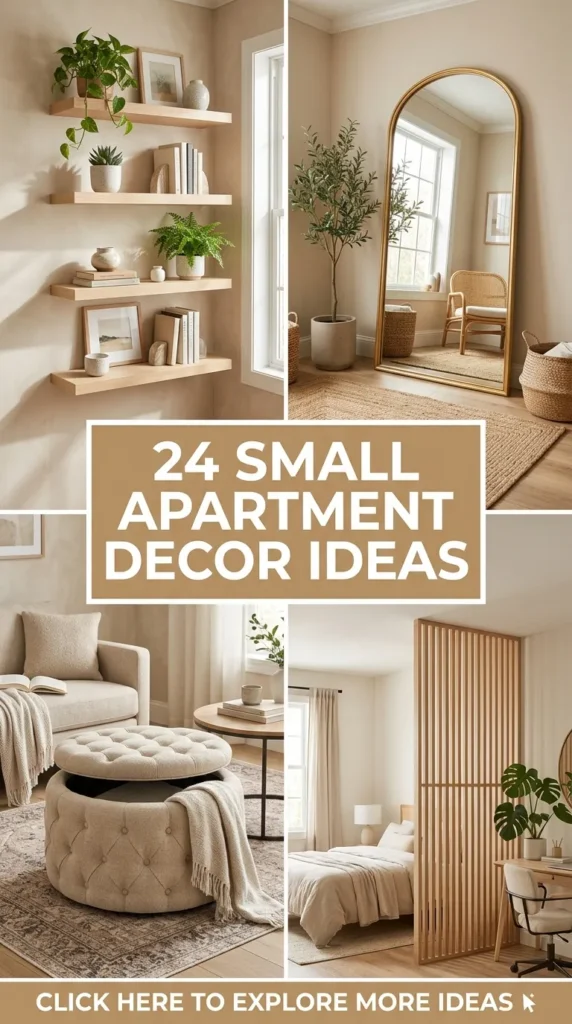
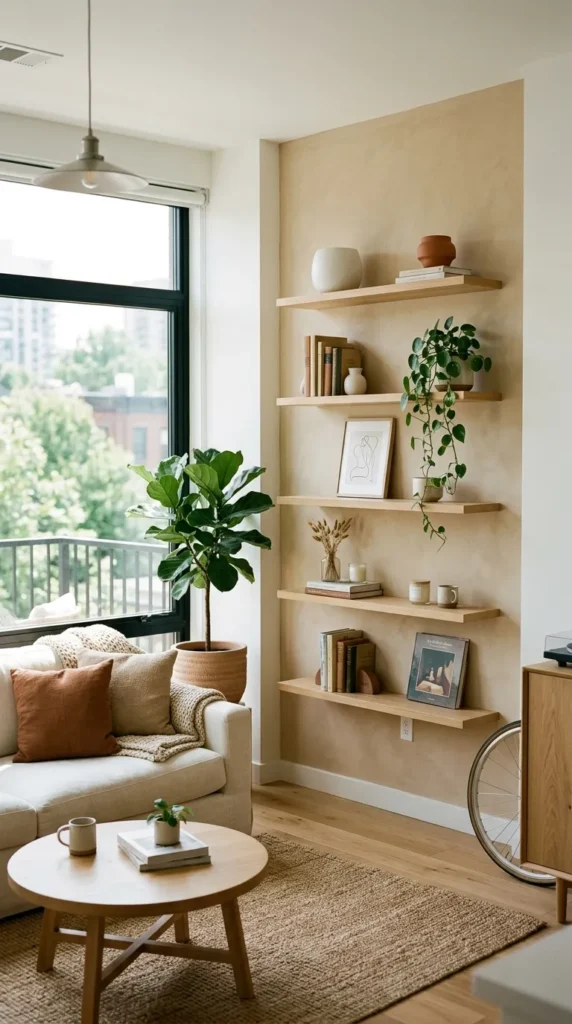
1. Floating Wall Shelves for Vertical Storage
What This Idea Means
Floating shelves are wall-mounted storage solutions that feature concealed brackets, giving the illusion that the shelf is seamlessly floating against the wall. Instead of taking up valuable footprint on your floor with bulky bookcases, this approach utilizes unused vertical space.
How to Make It
- Materials Needed: Solid wood or MDF shelf boards, hidden floating shelf mounting brackets, wall anchors, heavy-duty screws, and a level tool.
- Step-by-Step:
- Use a stud finder to locate the wall studs in your desired placement area.
- Mark the drill holes using a pencil and level to ensure perfect horizontal alignment.
- Secure the metal brackets firmly into the wall using wall anchors and screws.
- Slide the shelf board onto the hidden metal rods until it rests flush against the wall.
Tips and Variations
- Material Swaps: Use raw natural edge wood for a rustic charm, or polished white acrylic for a modern minimalist look.
- Styling Tip: Stagger shelves at varying heights to create a dynamic gallery effect. Balance heavy items like books on the lower shelves and lighter decorative pieces like trailing plants on top.
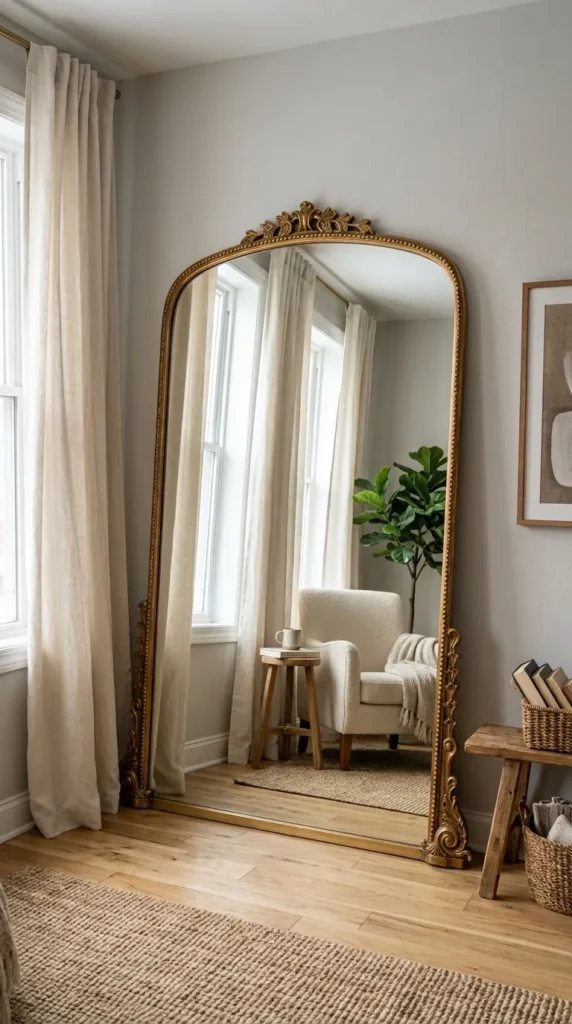
2. Large Decorative Floor Mirrors
What This Idea Means
Using a massive floor-length mirror is a classic interior design technique that visually doubles the size of a room. By reflecting light and extending lines of sight, mirrors eliminate claustrophobic corners and make tight spaces feel airy and bright.
How to Make It
- Materials Needed: Full-length floor mirror, anti-tip wall anchoring hardware, floor protectors (felt pads).
- Step-by-Step:
- Select a focal point, ideally opposite a window to maximize incoming natural sunlight.
- Apply felt pads beneath the mirror frame to protect your flooring from scratches.
- Lean the mirror at a slight backward angle against the wall.
- Install a secure safety anchor at the top back of the mirror frame connected into a wall stud to prevent accidental tipping.
Tips and Variations
- Frame Styles: Choose a slender gilt gold frame for modern vintage elegance, or a sleek black metal grid frame for an industrial loft aesthetic.
- Placement Trick: Place the mirror behind a floor lamp or modern lighting fixture to multiply ambiance in the evening.
3. Multi-Functional Storage Ottoman Bench
What This Idea Means
Multi-functional furniture is essential for small apartments. A storage ottoman serves three distinct purposes: extra seating for guests, a comfortable footrest, and a hidden compartment to store blankets, pillows, or games out of view.
How to Make It
- Materials Needed: Pre-assembled storage ottoman bench or a custom wooden chest with upholstery foam, fabric, stapler, and heavy-duty hinges.
- Step-by-Step:
- Construct or buy a sturdy rectangular wooden frame with a hollow core.
- Line the inner compartment with soft fabric or protective lining.
- Upholster the top lid using high-density foam wrapped in durable fabric (such as velvet, linen, or faux leather) and secure with staple gun hardware.
- Attach the lid to the base with soft-close safety hinges.
Tips and Variations
- Serving Tray Addition: Keep a flat wooden tray on top so it can instantly double as a sturdy coffee table.
- Texture Play: Choose textured upholstery like bouclé or tufted leather to add depth to your living area.
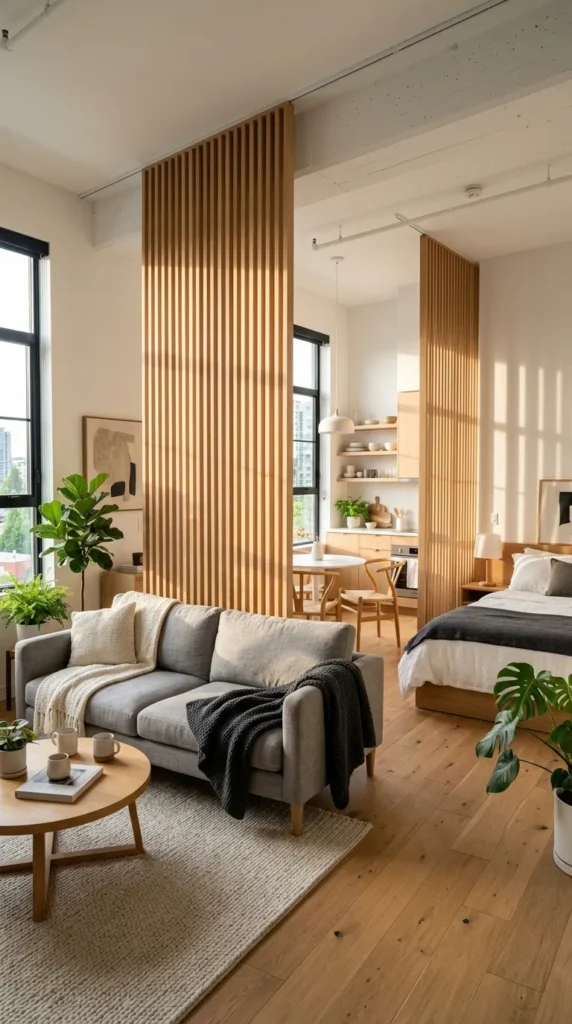
4. Semi-Transparent Zone Room Dividers
What This Idea Means
Creating distinct functional zones (like separating a sleeping area from a home office) in a small apartment or studio can be challenging. Semi-transparent room dividers partition the layout without blocking light or making the space feel closed off.
How to Make It
- Materials Needed: Freestanding wooden slat panels, hanging rattan screens, or semi-sheer curtain tracks mounted to the ceiling.
- Step-by-Step:
- Measure the width of the boundary where you want to separate your living functions.
- Install a ceiling-mounted curtain track or secure modular floor-to-ceiling wooden vertical slats.
- Attach lightweight rattan, linen, or bamboo panels to allow soft light transmission through the barrier.
Tips and Variations
- Plant Wall Alternative: Use a open-backed bookshelf (like an IKEA Kallax) filled with potted trailing vines as a natural, breathable room divider.
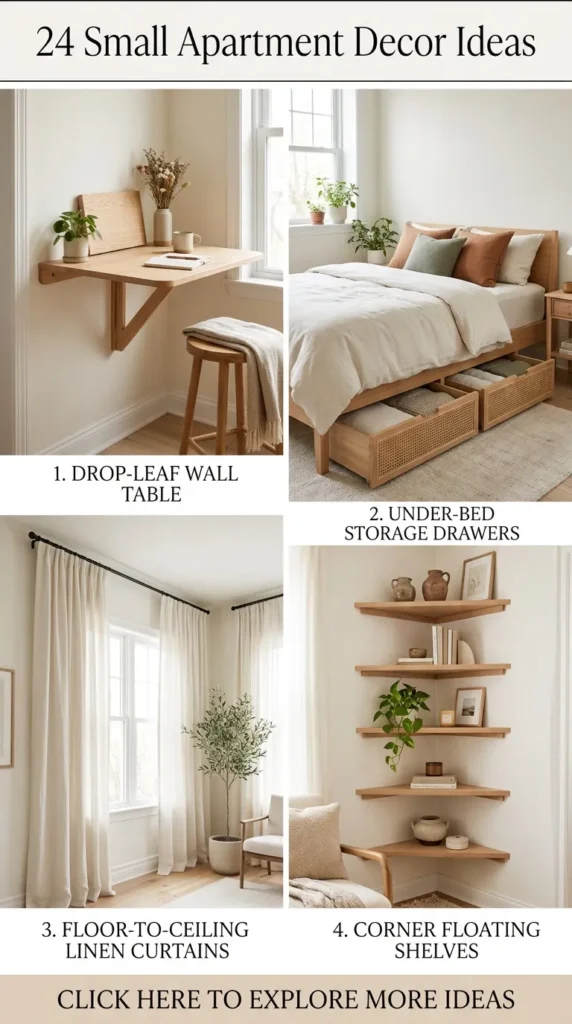
5. Wall-Mounted Drop-Leaf Dining Table
What This Idea Means
A wall-mounted drop-leaf table provides a dedicated dining or workspace when needed and folds completely flat against the wall when not in use, instantly reclaiming crucial floor space.
How to Make It
- Materials Needed: Heavy-duty folding shelf brackets, wooden tabletop panel, wall anchors, screws, and wood stain/paint.
- Step-by-Step:
- Sand and seal the wooden tabletop panel to protect against moisture and spills.
- Attach the locking folding brackets to the underside of the panel.
- Mount the brackets directly into wall studs at standard table height (around 30 inches).
- Test the folding mechanism to ensure smooth release and stable locking.
Tips and Variations
- Dual Purpose: Add a small shallow picture frame above the table so that when folded down, the underside features art.


6. Under-Bed Storage Drawers on Casters
What This Idea Means
The space underneath a standard bed frame represents valuable, underutilized square footage. Equipping this area with rolling storage drawers helps organize off-season clothing, extra bedding, or shoe collections smoothly out of sight.
How to Make It
- Materials Needed: Low-profile wooden or woven storage boxes, swivel caster wheels, drawer handles, and dust covers.
- Step-by-Step:
- Measure the clear height clearance between your floor and bed frame lower edge.
- Screw four low-profile swivel casters onto the four bottom corners of each wooden box.
- Install pull handles on the front face for ergonomic access.
- Add fitted fabric covers to shield stored items from ambient dust.
Tips and Variations
- Bed Riser Hack: If clearance is minimal, use bed risers to elevate your frame by 3 to 6 inches for maximum under-bed storage space.
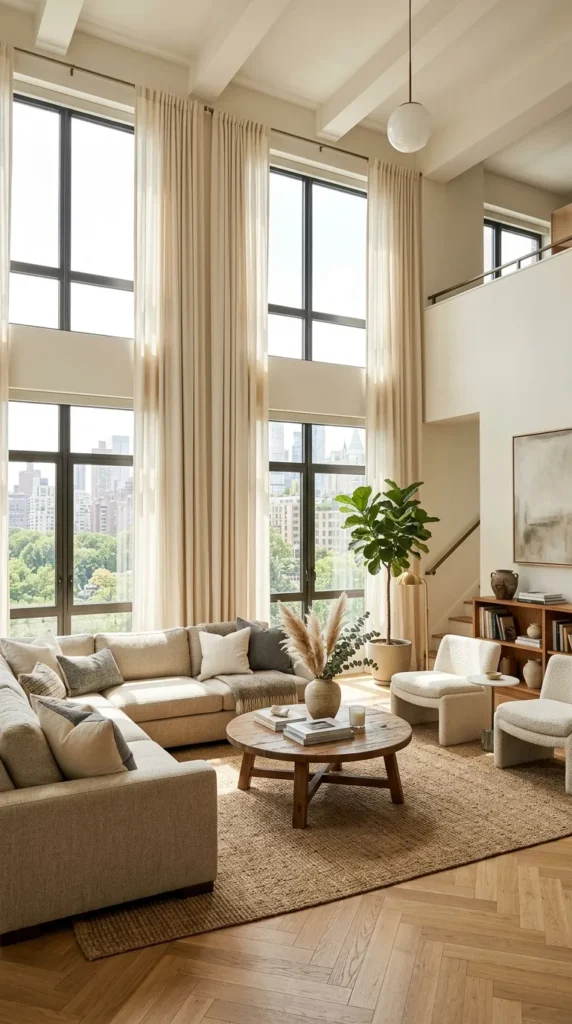
7. Floor-to-Ceiling Drapery Panels
What This Idea Means
Hanging window curtains right near the ceiling line and letting them fall all the way to the floor creates a visual illusion of height, making low ceilings feel significantly loftier and rooms grander.
How to Make It
- Materials Needed: Long curtain rod, ceiling-mount or high wall brackets, extended length curtain panels (usually 96 or 108 inches).
- Step-by-Step:
- Mount the curtain rod brackets 2 to 4 inches below the ceiling, spanning 6 to 12 inches wider than the window frame on both sides.
- Thread full-length fabric panels onto the rod.
- Ensure the hem of the curtains lightly kisses or puddles slightly on the floor surface.
Tips and Variations
- Fabric Choice: Use crisp linen blend fabrics in soft off-whites or light grays to keep light bouncing across the room.
8. High-Mounted Corner Wall Shelves
What This Idea Means
Room corners are often underutilized in apartment layouts. Installing triangular or custom corner shelves transforms awkward negative space into stylish display nooks for decor, books, or mini indoor gardens.
How to Make It
- Materials Needed: Triangular shelf boards cut to 90-degree angles, corner brackets, screws, wall anchors, and level.
- Step-by-Step:
- Align the triangular corner shelf board into the wall junction using a level.
- Mark corner support points along both connecting walls.
- Fasten small wall corner brackets into wall anchors.
- Rest and screw the shelf securely onto the mounted brackets.
Tips and Variations
- Vertical Stack: Stack three to five corner shelves above each other to turn an empty corner into a vertical tower.
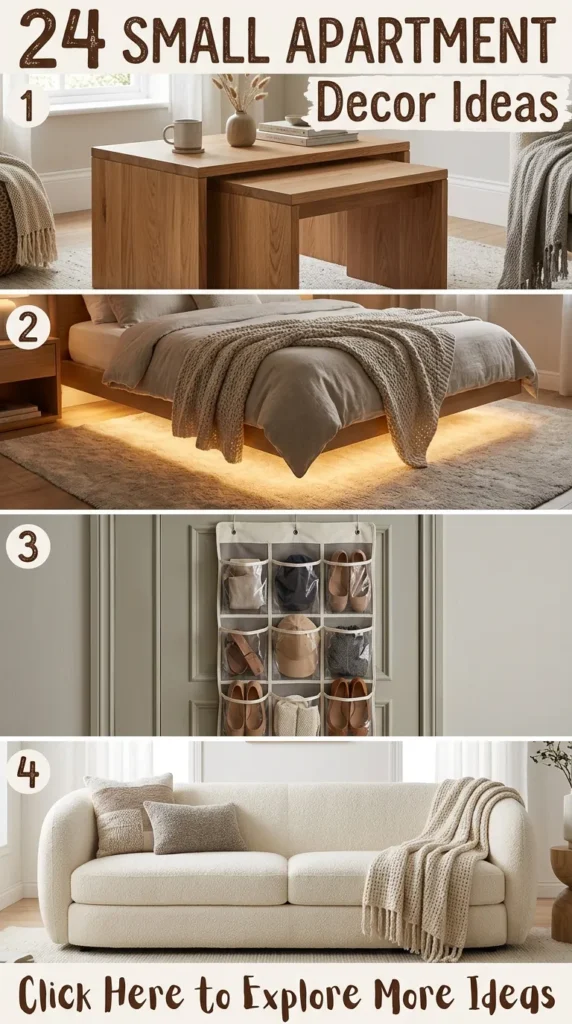
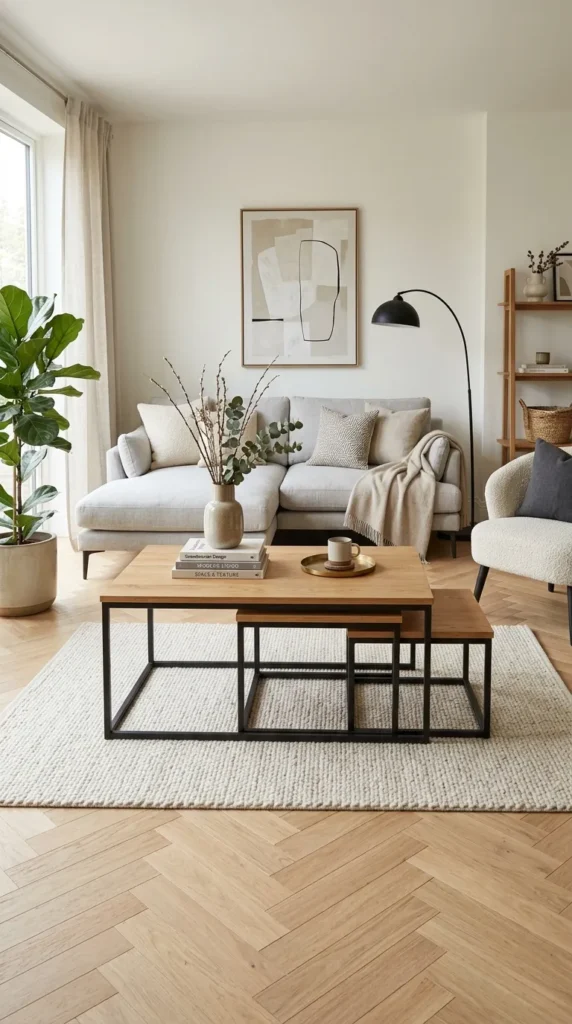
9. Nesting Accent Tables
What This Idea Means
Nesting tables feature a set of two or three graduated tables that easily slide beneath one another. They offer flexible surface area when hosting guests, but compact down to the footprint of a single table for daily living.
How to Make It
- Materials Needed: Set of nesting table frames (wood, metal, or glass) with proportional height variances.
- Step-by-Step:
- Assemble or select nested tables designed with clear height clearance gaps between sizes.
- Position the primary (largest) table as a central coffee or end table.
- Tuck the smaller secondary tables fully underneath until extra surface space is needed.
Tips and Variations
- Mixed Materials: Look for combinations like marble tops with slim bronze legs for an elevated touch.
10. Warm LED Strip Cove Lighting
What This Idea Means
Bulky floor lamps take up space and leave dark corners. Concealed warm LED strip lighting under cabinets, behind headboards, or along floating shelves introduces ambient glow that visually expands room perimeters without cluttering floor surfaces.
How to Make It
- Materials Needed: Flexible warm warm LED strip light kit with adhesive backing, power adapter, dimmer switch, and mounting channels.
- Step-by-Step:
- Clean the target surface thoroughly (underside of cabinets, back of headboard, or top of shelves).
- Peel off the adhesive protective tape from the back of the LED light strip.
- Press firmly along the edge, running wire neatly toward a power outlet.
- Connect the inline dimmer controller to adjust light intensity as needed.
Tips and Variations
- Smart Lighting: Choose smart LED strips compatible with phone apps to set schedule timers and color temperatures.



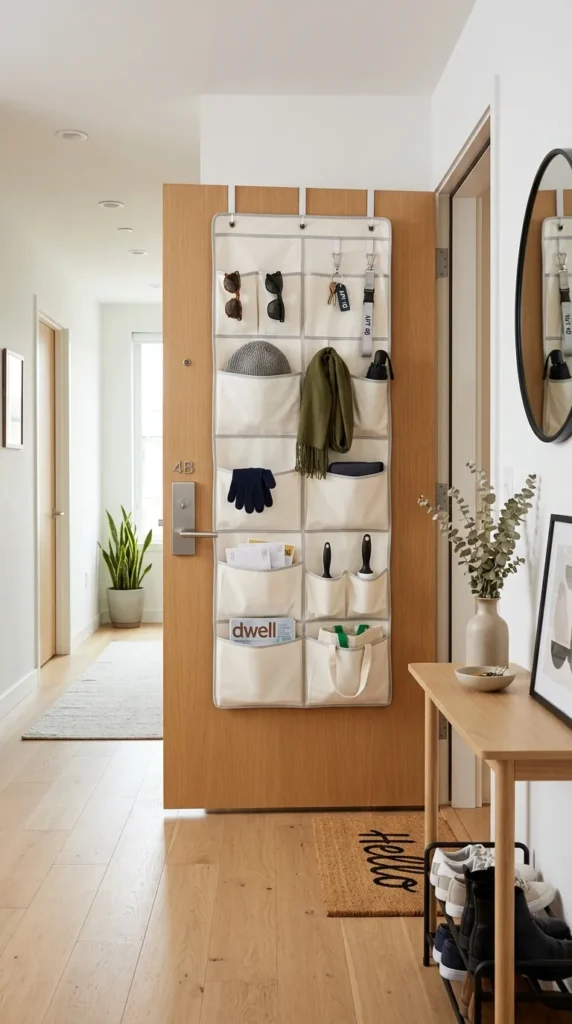
11. Over-the-Door Hanging Organizers
What This Idea Means
Utilizing the back of bedroom, closet, and bathroom doors provides instant vertical storage without drilling holes into walls, making it ideal for rental apartments.
How to Make It
- Materials Needed: Over-the-door metal hook set, canvas or pocket organizer unit, protective felt tabs.
- Step-by-Step:
- Place felt pads under metal over-door hooks to protect door finishes.
- Hang hooks over the top edge of the door.
- Suspend canvas storage organizer pockets onto the hooks.
Tips and Variations
- Pantry Hack: Use clear pocket organizers inside kitchen pantry doors to store spices, snacks, and small kitchen items.
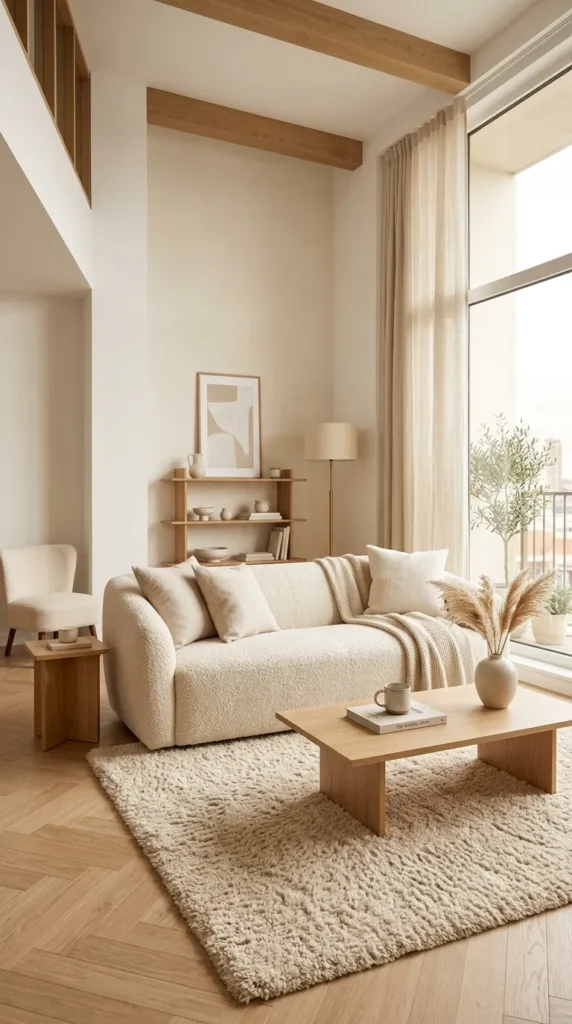
12. Monochromatic Light Color Palette
What This Idea Means
Decorating a small apartment with a cohesive, light color scheme (such as soft whites, creams, light grays, and warm beige) minimizes visual harshness, reflects natural light, and creates a seamless, open environment.
How to Make It
- Materials Needed: Light paint shades, coordinating tonal soft furnishings, light-colored area rugs, and subtle textured decor.
- Step-by-Step:
- Select a base shade (e.g., warm alabaster white) for primary walls and large furniture.
- Layer varying textures in similar shades—such as chunky knit throw blankets, linen pillows, and woven rugs—to add depth without color disruption.
- Restrain dark, contrasting tones to minor accents or thin metallic hardware.
Tips and Variations
- Texture Focus: When working within a tight single-color palette, mix materials like boucle, smooth ceramic, light oak wood, and velvet to keep the room engaging.
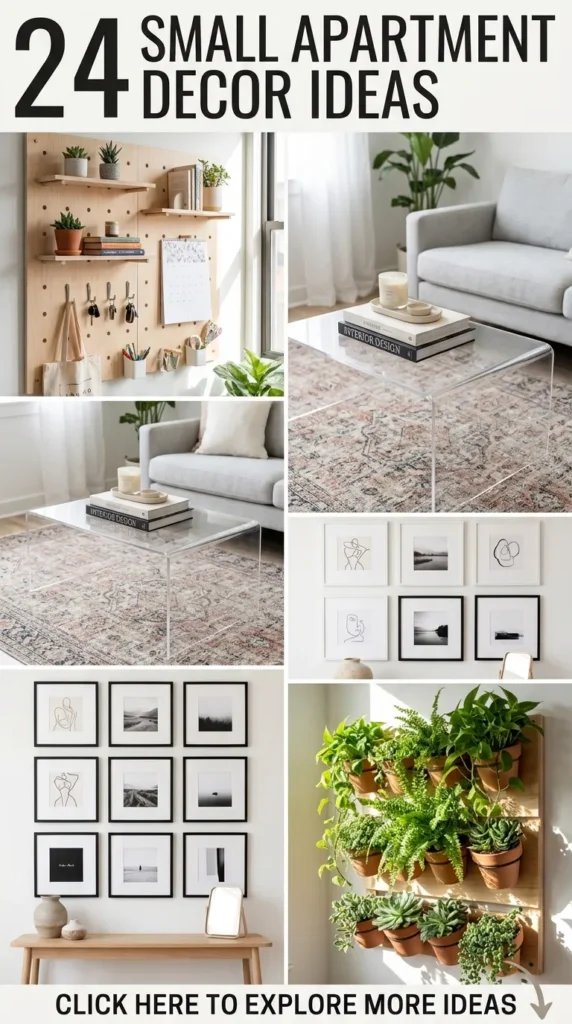
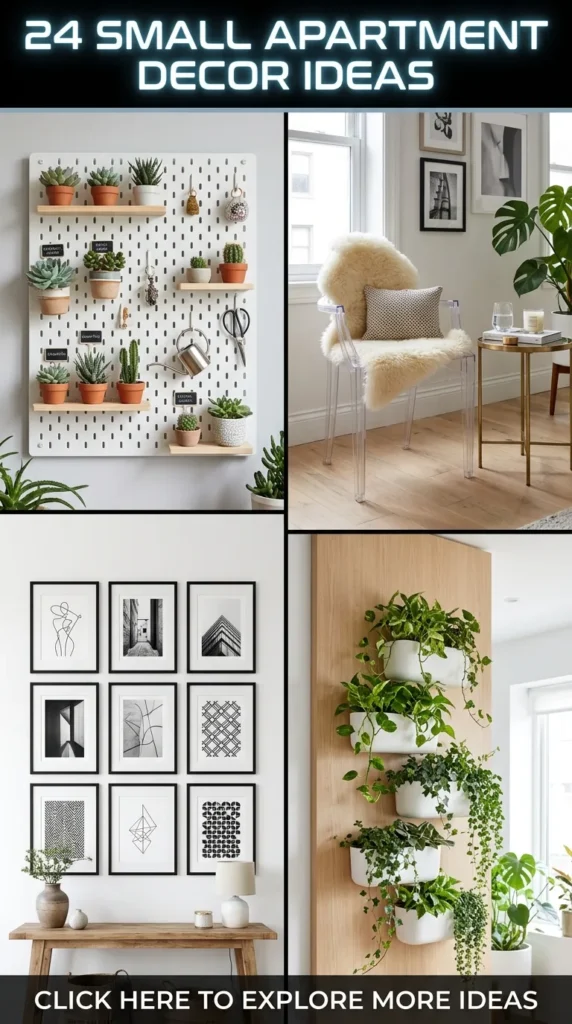
13. Pegboard Modular Wall Display
What This Idea Means
Pegboards offer dynamic storage where hooks, shelves, and bins can be endlessly rearranged. Perfect for entryway key stations, kitchen tools, craft corners, or home office organization.
How to Make It
- Materials Needed: Perforated pegboard panel (wood, steel, or hardboard), wall spacers, mounting screws, selection of peg hooks and mini shelves.
- Step-by-Step:
- Attach wooden spacer strips to the back of the pegboard panel to create clearance space behind the holes.
- Mount the panel firmly into wall anchors using heavy-duty screws.
- Arrange hooks, hanging wire baskets, and small shelf brackets as desired.
Tips and Variations
- Painted Aesthetic: Paint a wooden pegboard in a subtle accent color, like sage green or warm beige, to elevate it into a decorative feature.
14. Acrylic and Glass Transparent Furniture
What This Idea Means
Acrylic, Lucite, or glass tables and chairs possess visual transparency. Because light passes right through them, these items fulfill functional needs without creating visual clutter in compact spaces.
How to Make It
- Materials Needed: Clear acrylic ghost chairs, tempered glass coffee tables, or lucite side console tables.
- Step-by-Step:
- Integrate clear furniture pieces into central tight areas where solid furniture would visually block sightlines.
- Keep surfaces clean using non-abrasive microfiber cloths and dedicated plastic or glass cleaner.
Tips and Variations
- Accent Touches: Pair transparent furniture with rich, soft textures nearby, such as a faux fur cushion or a woven textured rug.
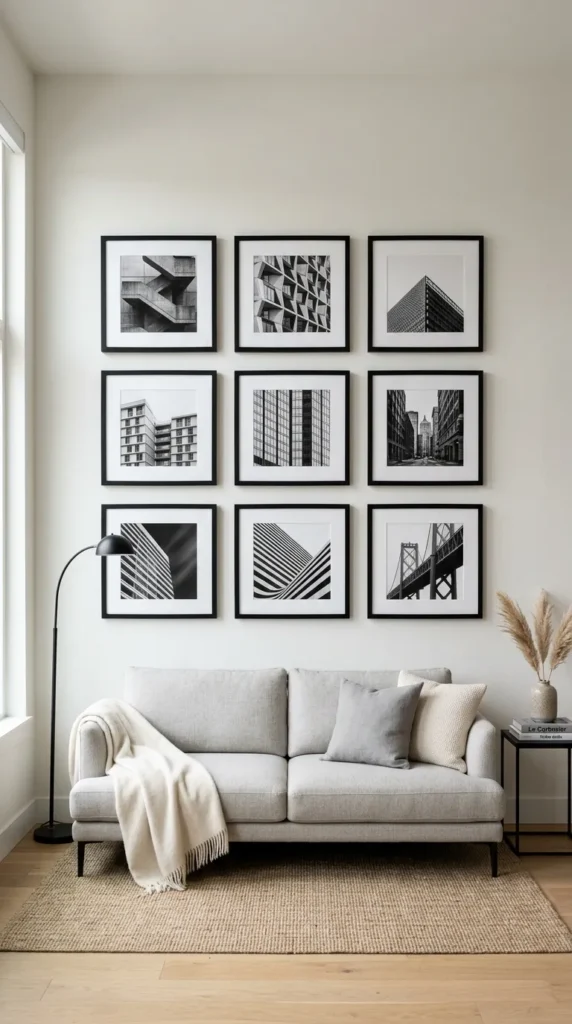
15. Statement Grid Gallery Wall
What This Idea Means
Instead of multiple mismatched art pieces cluttering a small room, a structured grid gallery wall with uniform frames creates an organized focal point that draws eyes upward and adds personality without feeling messy.
How to Make It
- Materials Needed: Matching art frames with mats, print photos or art, measuring tape, painter’s tape, and wall picture hangers.
- Step-by-Step:
- Select a grid format (e.g., 2×3 or 3×3 layout) using identical frames.
- Lay out the arrangement on the floor first to verify spacing.
- Use painter’s tape on the wall as guide lines, maintaining a precise 2 to 3-inch gap between frames.
- Mount frames level and secure.
Tips and Variations
- Cohesive Prints: Use high-contrast black-and-white photography or architectural line drawings to maintain modern elegance.


16. Vertical Indoor Garden and Wall Planters
What This Idea Means
Bringing greenery indoors refreshes small apartments without taking up table space. Hanging pocket planters or wall-mounted pots allow trailing plants to flourish vertically.
How to Make It
- Materials Needed: Wall-mounted planter pots, self-watering wall pockets, sturdy wall anchors, and indoor trailing plants (like Pothos or Philodendrons).
- Step-by-Step:
- Select an indoor wall that receives suitable indirect natural sunlight.
- Mount planter brackets securely using anchors.
- Place potted trailing indoor plants inside holders, allowing foliage to cascade down gracefully.
Tips and Variations
- Herbs Station: Mount small wall planters near a bright kitchen window to cultivate fresh culinary herbs vertically.
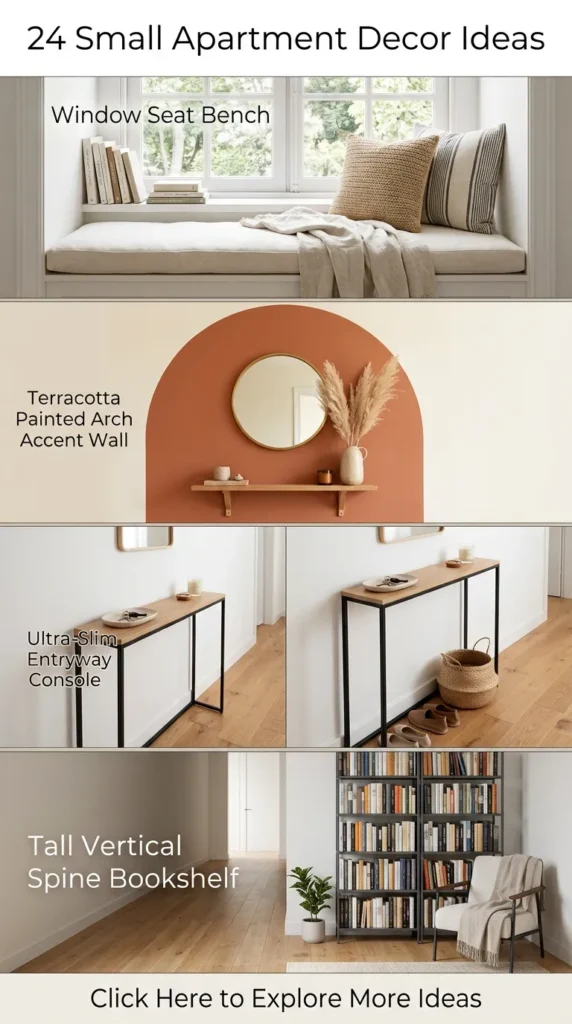
17. Built-in Style Window Seat Nook
What This Idea Means
Transforming an ordinary window sill or niche into a built-in seating bench creates a dedicated reading nook while incorporating hidden storage underneath.
How to Make It
- Materials Needed: Low storage cabinet or custom wooden bench frame, custom cut foam seat cushion, throw pillows, and upholstery fabric.
- Step-by-Step:
- Position a sturdy low-profile storage chest or bench directly beneath a window frame.
- Cut high-density upholstery foam to match the top dimensions.
- Wrap foam in fabric and secure to create a bench cushion.
- Style with plush accent cushions for a cozy finished aesthetic.
Tips and Variations
- Lidded Bench: Choose a bench with a lift-up top lid to keep extra seasonal blankets concealed inside.
18. Recessed Nook and Arch Wall Accent Painting
What This Idea Means
Painting an arched color block or dynamic shape directly onto a wall visually defines a functional space (like a workspace, bedhead, or entryway) without needing physical walls or physical furniture dividers.
How to Make It
- Materials Needed: Interior accent paint color, painter’s tape, string, pencil, thumb tack, and precision paint brushes.
- Step-by-Step:
- Pin a piece of string with a pencil attached to mark out a smooth, perfect arch shape on the wall.
- Outline the straight vertical sides using painter’s tape.
- Carefully cut in the curved top edge with a fine brush and fill the inner shape with your accent paint color.
- Peel away tape while paint is damp for crisp, clean lines.
Tips and Variations
- Color Selection: Use warm terracotta, muted olive green, or soft dusty rose tones to ground neutral furniture placed in front of the arch.
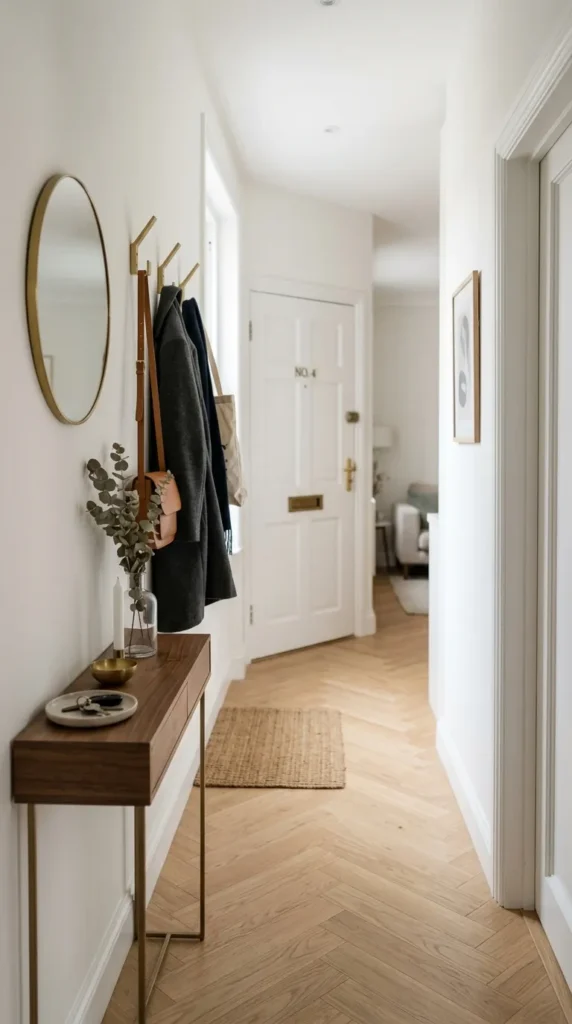
19. Slim Entryway Console with Vertical Coat Hooks
What This Idea Means
Narrow entry halls in apartments often get cluttered with shoes and bags. A shallow depth console table (8–10 inches deep) combined with wall-mounted hooks maximizes efficiency in tight entryways.
How to Make It
- Materials Needed: Ultra-slim console table, decorative metal coat hooks, wall anchors, and small storage catch-all dishes.
- Step-by-Step:
- Place the ultra-slim console table flush against the entryway wall.
- Mount coat hooks on the wall directly above the console, spaced 6 to 8 inches apart.
- Place a tray on the table surface for keys, mail, and daily essentials.
Tips and Variations
- Stool Storage: Slide a small tuck-away ottoman underneath the console table for a quick shoe-changing seat.
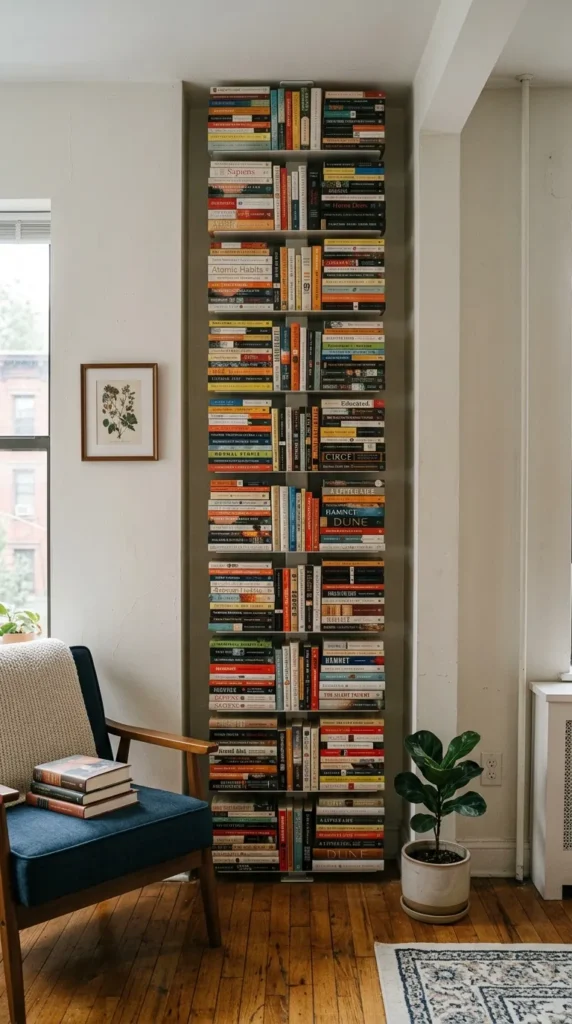
20. Floor-to-Ceiling Vertical Bookcase Tower
What This Idea Means
A slim, vertical column bookcase extends all the way to the ceiling, utilizing minimal floor area while maximizing book capacity and drawing the eye upward to emphasize ceiling height.
How to Make It
- Materials Needed: Narrow vertical spine tower bookcase, wall anchoring safety strap kit, and mounting screws.
- Step-by-Step:
- Position the slender vertical bookshelf in an unused nook or next to a doorway.
- Fasten the top stability bracket of the tall tower securely into a wall stud to prevent tipping.
- Stack books horizontally along the spine for a clean modern presentation.
Tips and Variations
- Color Block Styling: Organize book spines by color gradient tones for an artistic, eye-catching presentation.